
Photoshop CS6/CS6 Extended for Win:
Download both Download File-1 & Download File-2
Follow the steps below to install Adobe Photoshop CS6 / CS6 Extended for the Windows side.
Open the Photoshop Installer
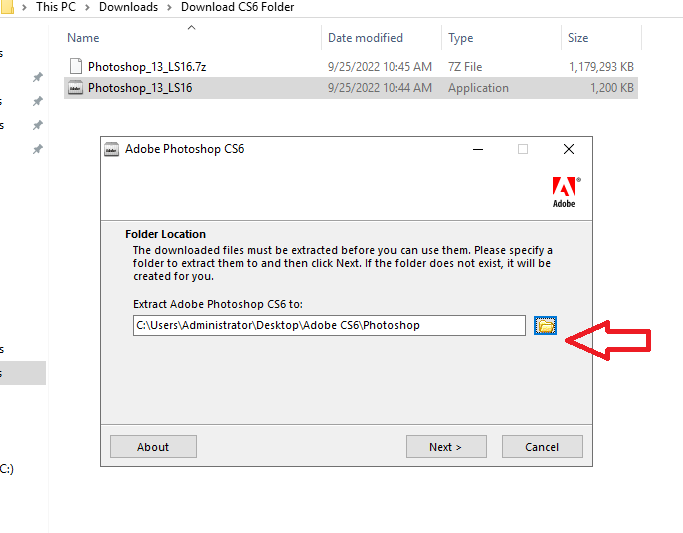
You can change the location later if you would like.
Choose Location for Download
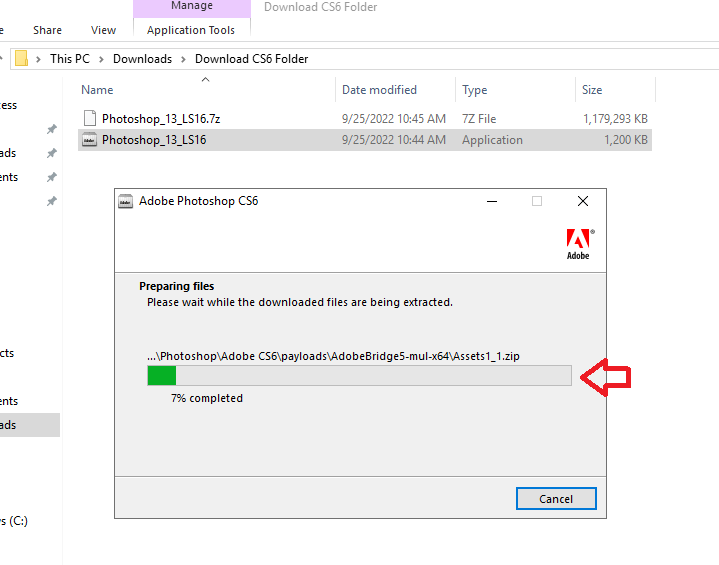
This may take several minutes.
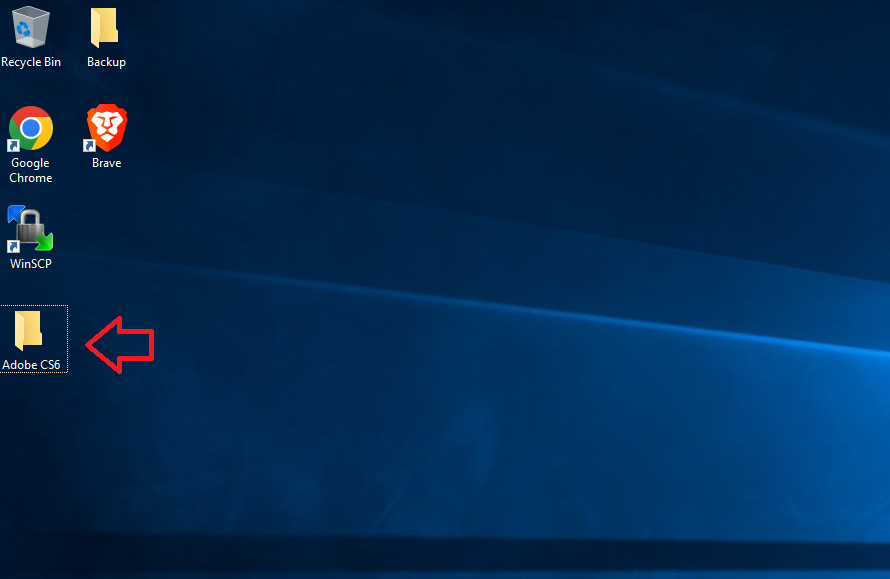
Open the “Adobe CS6” Folder
Double Click the Adobe CS6 Folder located on your desktop.
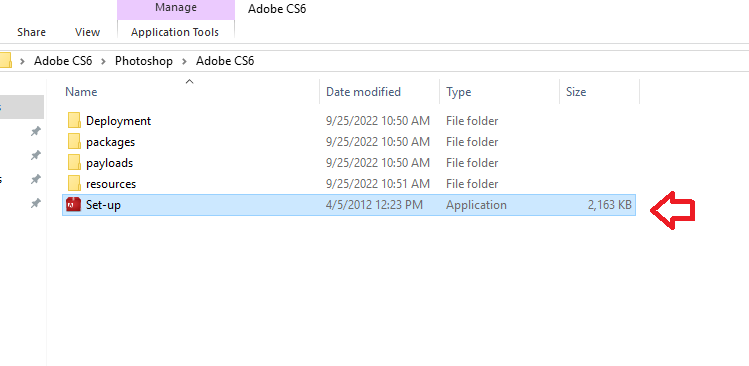
Open the Photoshop folder > Open the Set Up Wizard
Allow Initializer to Load

Choose Install

Accept the License Agreement

Enter the serial number

Click Next
Sign in to Adobe

- If you do not have an Adobe account, you will need to create one. If you do have an Adobe account, sign in with those credentials now.
- Click Sign in Now
Install Photoshop
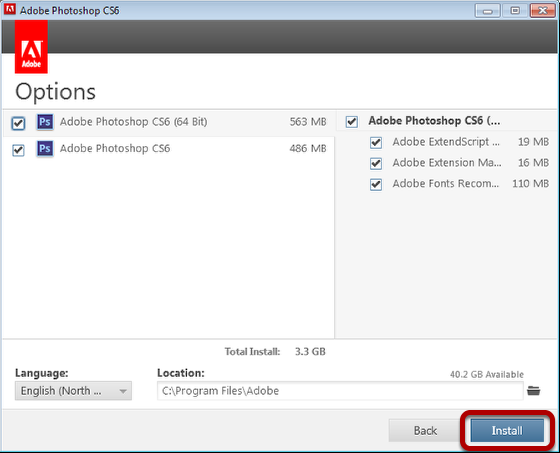
- Click Install
Allow changes

- Click Yes
Allow Adobe to Install

This may take several minutes.
Installation Complete

- Click Close
Success!
- You have successfully installed Adobe Photoshop CS6.