


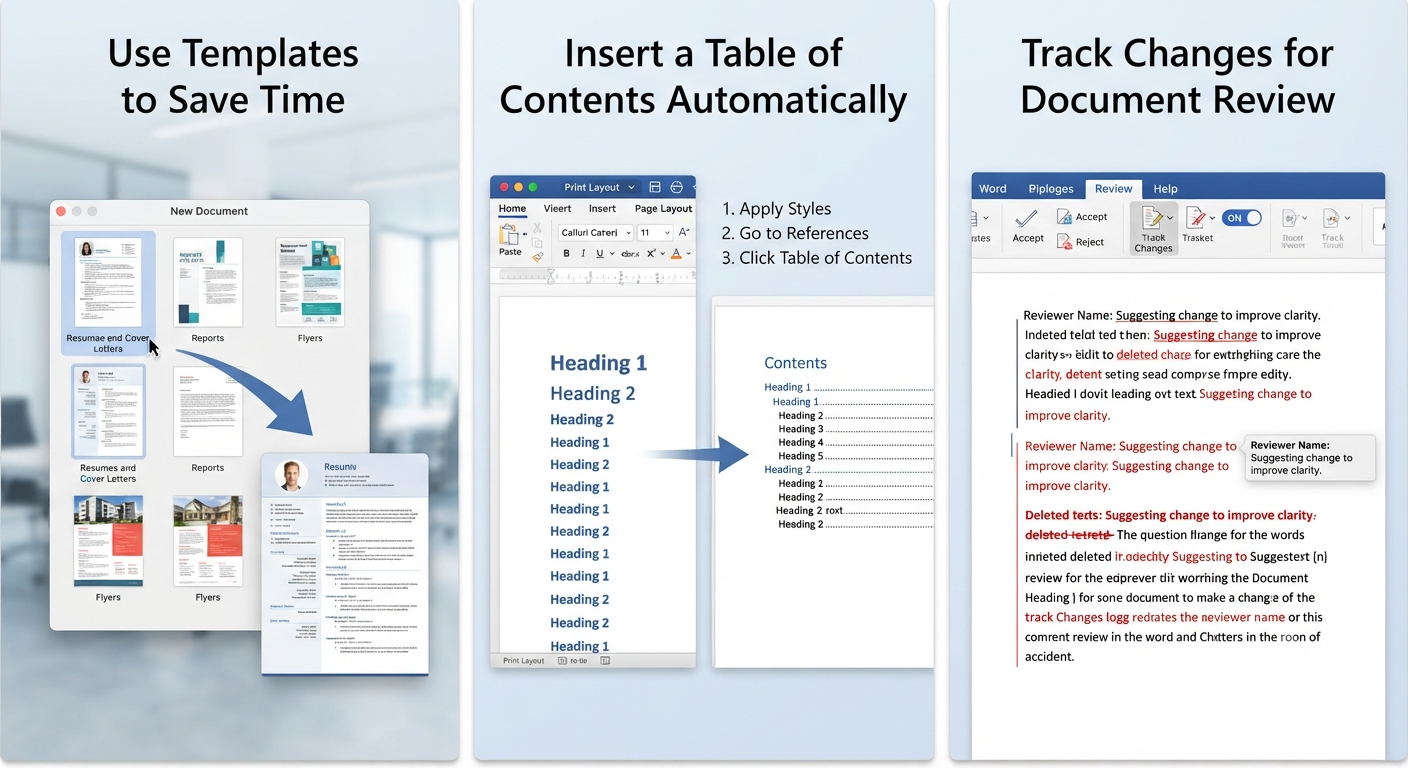
Best Microsoft Word Tips and Tricks for Mac
Microsoft Word is one of the most widely used word processing applications in the world, and its macOS version offers a rich set of features designed for students, professionals, writers, and businesses alike. While Word for Mac shares many similarities with its Windows counterpart, it also includes Mac-specific shortcuts, interface differences, and productivity tools that can help you work more efficiently.
Whether you’re creating reports, writing essays, preparing business documents, or collaborating with others, learning a few useful Microsoft Word tips can significantly improve your workflow. This guide covers practical tips, keyboard shortcuts, formatting tricks, collaboration features, and customization options that every Mac user should know.
Getting Started with Microsoft Word for Mac
Microsoft Word for Mac is available as part of the Microsoft 365 subscription or as a standalone application, depending on the version you choose.
After installing Word, you’ll have access to features such as:
- Document creation
- Advanced formatting
- Templates
- Collaboration tools
- Cloud synchronization
- Spell checking
- Grammar suggestions
- Built-in design tools
Signing in with a Microsoft account also allows you to synchronize files through OneDrive and collaborate with other users in real time.
Learn the Ribbon Interface
The Ribbon organizes Word’s tools into tabs, making it easier to find commands.
Some of the most frequently used tabs include:
- Home
- Insert
- Draw
- Design
- Layout
- References
- Mailings
- Review
- View
Taking a few minutes to explore each tab can help you discover useful features you may not use every day.
Master Essential Keyboard Shortcuts
Using keyboard shortcuts is one of the fastest ways to improve productivity.
Some helpful Word shortcuts for Mac include:
| Shortcut | Function |
|---|---|
| Command + C | Copy |
| Command + V | Paste |
| Command + X | Cut |
| Command + Z | Undo |
| Command + Shift + Z | Redo |
| Command + B | Bold |
| Command + I | Italic |
| Command + U | Underline |
| Command + S | Save |
| Command + P | |
| Command + F | Find |
| Command + H | Replace |
| Command + A | Select All |
Learning these shortcuts can reduce your reliance on menus and speed up document editing.
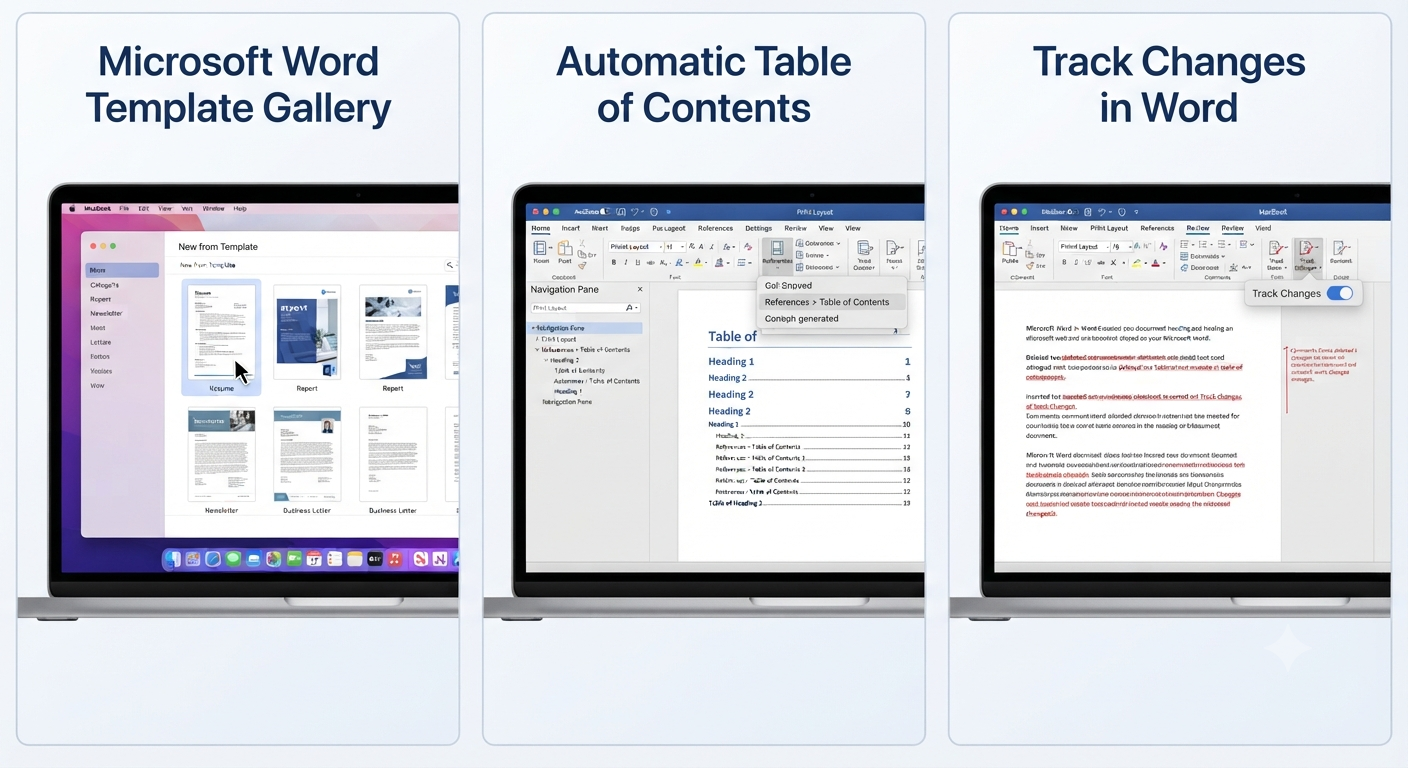
Use Templates to Save Time
Word includes hundreds of built-in templates for common document types.
Examples include:
- Resumes
- Business letters
- Reports
- Flyers
- Calendars
- Brochures
- Meeting agendas
- Newsletters
Templates provide professionally designed layouts that you can customize to fit your needs.
To access them:
- Open Word.
- Select New from Template.
- Browse or search for a template.
- Open and customize it.
Image: Microsoft Word template gallery.
Take Advantage of AutoSave
If your documents are stored in OneDrive, Word can automatically save your changes.
Benefits include:
- Continuous saving
- Reduced risk of data loss
- Easier collaboration
- Automatic version history
Enable AutoSave using the toggle in the upper-left corner of the Word window.
This feature is particularly useful when working on long documents.
Use Styles Instead of Manual Formatting
Rather than formatting each heading manually, use Word’s built-in Styles.
Common styles include:
- Title
- Heading 1
- Heading 2
- Heading 3
- Normal
- Quote
Using styles offers several advantages:
- Consistent formatting
- Easier navigation
- Automatic table of contents creation
- Faster editing
You can also modify styles to match your preferred formatting.
Insert a Table of Contents Automatically
If your document uses headings, Word can generate a table of contents automatically.
To insert one:
- Apply heading styles throughout the document.
- Open the References tab.
- Click Table of Contents.
- Choose a built-in style.
Whenever your document changes, simply update the table instead of creating it manually.
Image: Automatic Table of Contents.
Collaborate with Others in Real Time
Microsoft Word supports real-time collaboration through Microsoft 365.
Features include:
- Simultaneous editing
- Live cursor tracking
- Comments
- Suggestions
- Version history
To collaborate:
- Save the document to OneDrive.
- Click Share.
- Enter recipients’ email addresses.
- Choose editing or viewing permissions.
This is especially useful for team projects and shared documents.
Use Comments Instead of Editing Directly
When reviewing someone else’s work, use comments rather than changing the text immediately.
To add a comment:
- Highlight text.
- Open the Review tab.
- Click New Comment.
- Type your feedback.
Comments make collaboration more organized and easier to follow.
Track Changes for Document Review
Track Changes records every modification made to a document.
This feature displays:
- Insertions
- Deletions
- Formatting changes
- Reviewer names
To enable it:
- Open Review.
- Select Track Changes.
Editors can later accept or reject each modification individually.
Image: Track Changes in Word.
Use Dictation for Faster Writing
If your Mac supports voice dictation, you can create documents by speaking instead of typing.
To begin:
- Place the cursor where you want to insert text.
- Select Home > Dictate.
- Speak naturally.
Dictation works well for drafting documents, taking notes, and creating outlines.
Customize the Quick Access Toolbar
The Quick Access Toolbar provides one-click access to frequently used commands.
You can add tools such as:
- Save
- Undo
- Redo
- Spell Check
- New Document
Customizing this toolbar helps reduce repetitive navigation through menus.
Use Focus Mode
Focus Mode minimizes distractions by hiding unnecessary interface elements.
To enable it:
- Open the View tab.
- Select Focus.
This creates a cleaner writing environment that allows you to concentrate on your content.
Take Advantage of Find and Replace
Find and Replace is invaluable when editing long documents.
Press:
Command + HYou can quickly:
- Replace repeated words
- Correct spelling errors
- Update names
- Change formatting
This feature can save significant editing time.
Recover Unsaved Documents
Unexpected shutdowns can happen.
Word includes an AutoRecover feature that helps restore unsaved work.
To find recovered documents:
- Open Word.
- Check the Document Recovery pane if it appears.
- Browse recent files.
- Open the recovered version.
Saving documents to OneDrive provides additional protection through version history.
Insert High-Quality Images
Images can make documents more engaging.
To insert one:
- Open Insert.
- Select Pictures.
- Choose an image from your Mac.
Use image formatting options to:
- Resize
- Crop
- Add borders
- Apply effects
- Adjust text wrapping
Optimizing image placement improves document readability.
Use Built-In Accessibility Tools
Word offers several accessibility features that help create documents for a wider audience.
Examples include:
- Accessibility Checker
- Alt text for images
- Read Aloud
- High-contrast support
Running the Accessibility Checker helps identify potential issues before sharing your document.
Protect Sensitive Documents
If you’re working with confidential information, Word provides security options.
You can:
- Restrict editing
- Require a password to open the document
- Mark documents as final
- Apply sensitivity labels (Microsoft 365)
These features help protect important information from unauthorized changes or access.
Customize Proofing Settings
Word’s proofing tools can be tailored to your writing style.
Open:
Word > Settings > Spelling & Grammar
From there, you can configure options such as:
- Grammar suggestions
- Automatic spelling correction
- Capitalization rules
- Writing style preferences
Custom proofing settings can improve both accuracy and consistency.
Keep Word Updated
Microsoft regularly releases updates that include:
- Security improvements
- Performance enhancements
- Bug fixes
- New features
To check for updates:
- Open Microsoft AutoUpdate.
- Choose Check for Updates.
- Install any available updates.
Keeping Word current ensures access to the latest tools and improvements.
Common Mistakes to Avoid
Many users overlook features that can simplify document creation.
Avoid these common mistakes:
- Applying manual formatting instead of using Styles
- Forgetting to enable AutoSave
- Ignoring Track Changes during collaboration
- Not using templates for recurring documents
- Saving important files only on the local drive
- Overusing different fonts and colors
Following Word’s built-in formatting tools leads to cleaner, more consistent documents.
Best Practices for Microsoft Word on Mac
To get the most from Word:
- Learn common keyboard shortcuts.
- Use Styles for headings and formatting.
- Save documents to OneDrive.
- Enable AutoSave.
- Review documents with Track Changes.
- Use comments for collaboration.
- Keep Word updated.
- Organize long documents with a table of contents.
These habits improve both productivity and document quality.
Frequently Asked Questions
Is Microsoft Word for Mac different from the Windows version?
The core features are very similar, but the interface, keyboard shortcuts, and some menu locations differ slightly to match macOS conventions.
Can I collaborate with Windows users?
Yes. Documents created in Microsoft Word are fully compatible across Windows, macOS, and Microsoft 365, making collaboration seamless.
Does Word for Mac support AutoSave?
Yes. AutoSave is available when documents are stored in OneDrive or SharePoint and you’re signed in with a Microsoft account.
Can I use Microsoft Word without a Microsoft 365 subscription?
Yes. Depending on your license, you may have a standalone version of Microsoft Word. However, some cloud-based collaboration features require a Microsoft 365 subscription.
How can I recover an unsaved Word document on Mac?
Word’s AutoRecover feature may restore unsaved work after an unexpected shutdown. You can also check the Recent files list or OneDrive version history if the document was stored in the cloud.
Conclusion
Microsoft Word for Mac is a powerful word processor packed with features that go far beyond basic text editing. By learning keyboard shortcuts, using Styles, enabling AutoSave, collaborating with comments and Track Changes, and taking advantage of templates and accessibility tools, you can create professional-quality documents more efficiently.