


Installing Windows SBS 2011: A Complete Guide
Windows Small Business Server (SBS) 2011 was designed to provide small organizations with an integrated platform for file sharing, email, collaboration, and centralized management. Although the product has reached the end of its support lifecycle, many businesses continue to maintain legacy SBS 2011 environments for compatibility with older applications and workflows.
If you are setting up an existing SBS 2011 system in a test lab or maintaining an older deployment, following a proper installation process is essential for stability and security. This guide walks through the key steps involved in installing Windows Small Business Server 2011.
Before You Begin
Before starting the installation, ensure that:
- Your server hardware meets the minimum system requirements.
- You have a valid SBS 2011 installation disc or ISO and product key.
- All important data from any existing server has been backed up.
- You have downloaded the latest available drivers for your hardware.
Because SBS 2011 is no longer supported by Microsoft, avoid deploying it for new production environments connected directly to the internet.
Review the Hardware Requirements
A typical SBS 2011 installation requires:
- A 64-bit processor
- At least 8 GB of RAM (more is recommended)
- Sufficient storage for the operating system, mail databases, and shared files
- One or more network adapters
Using modern storage such as SSDs can improve the performance of legacy workloads.
Prepare the Installation Media
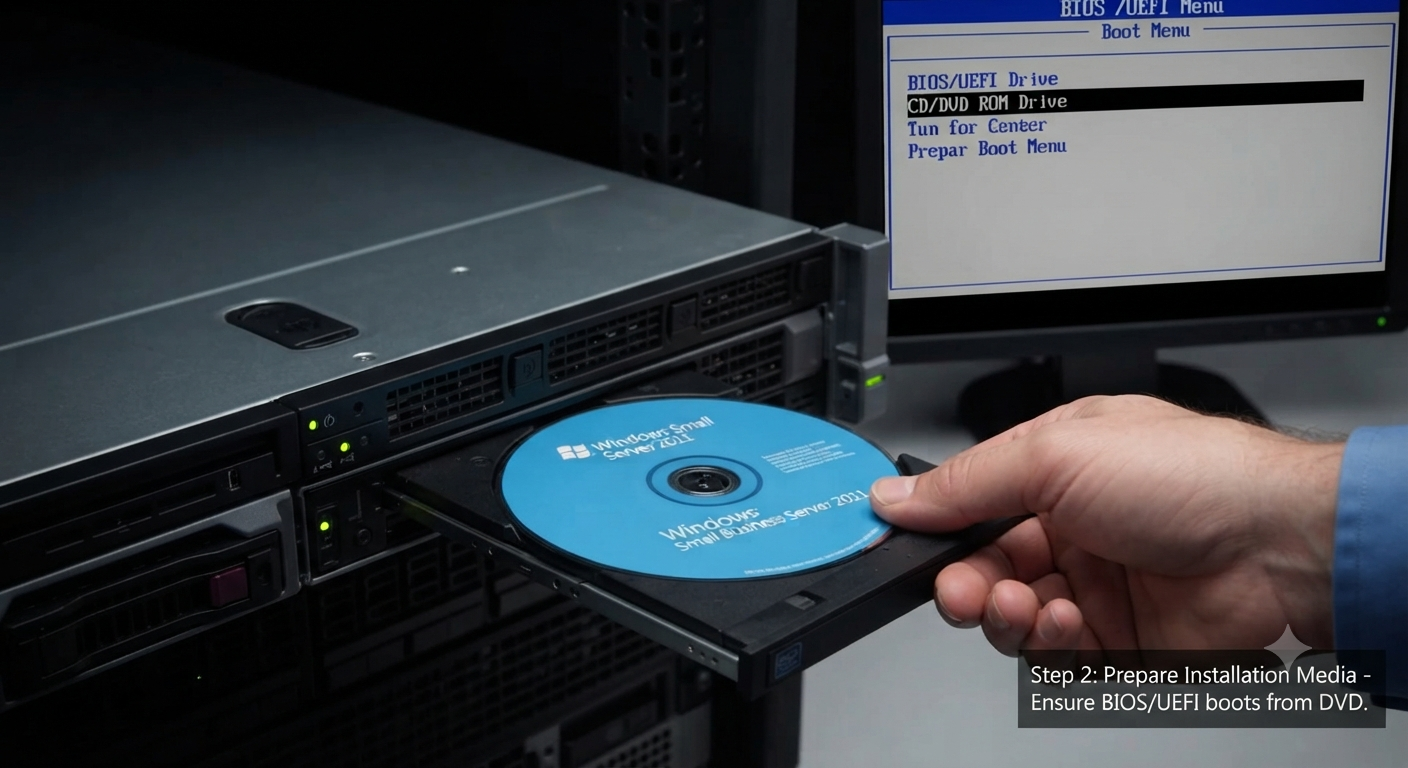
Create bootable installation media from the SBS 2011 ISO or use the original DVD. Configure the server’s BIOS or UEFI settings so that it boots from the installation media first.
Verify the integrity of the media before proceeding to avoid installation failures.
Start the Installation
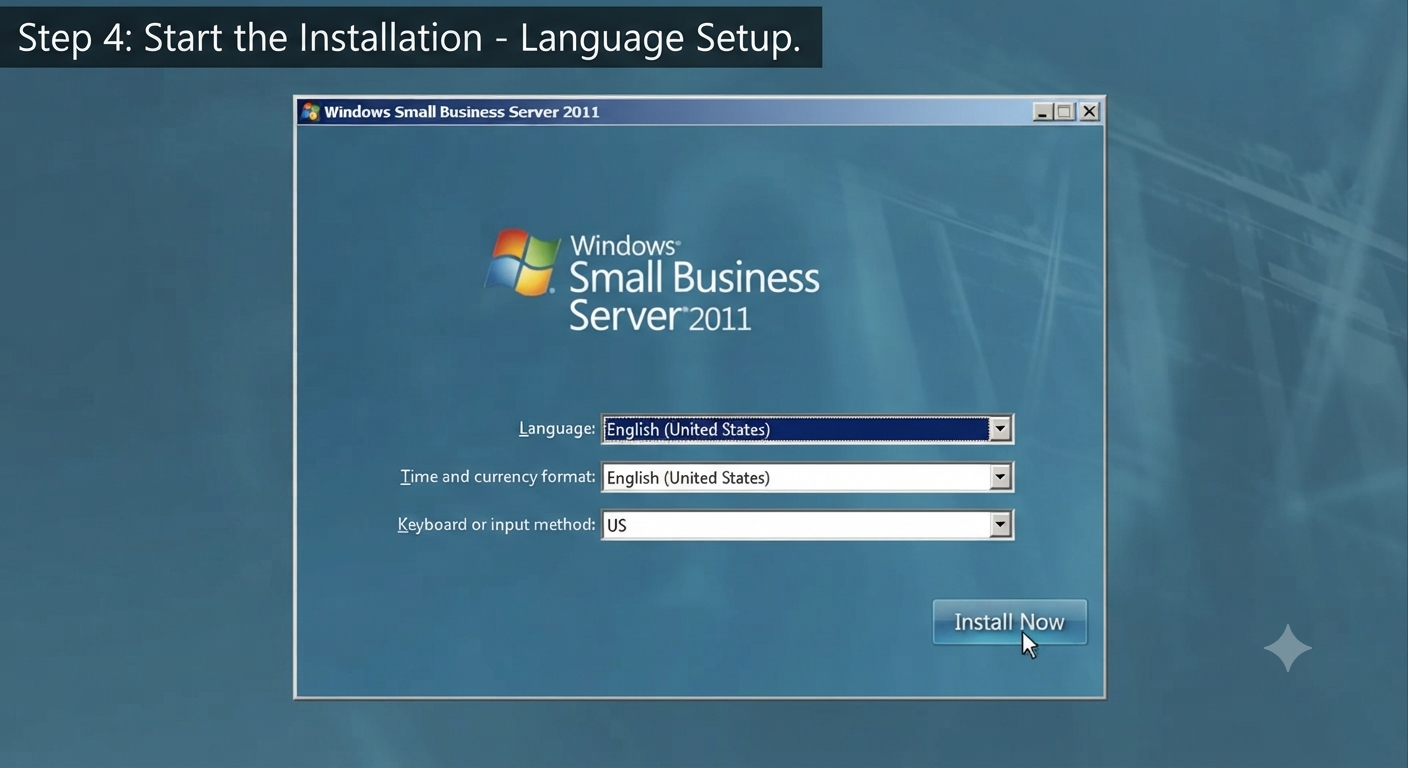
Insert the installation media and boot the server.
When prompted:
- Select your language, time, and keyboard settings.
- Click Install Now.
- Enter the product key if requested.
- Accept the license agreement.
The setup program will copy files and restart the server automatically.
Image: SBS 2011 installation screen.
Configure Initial Server Settings
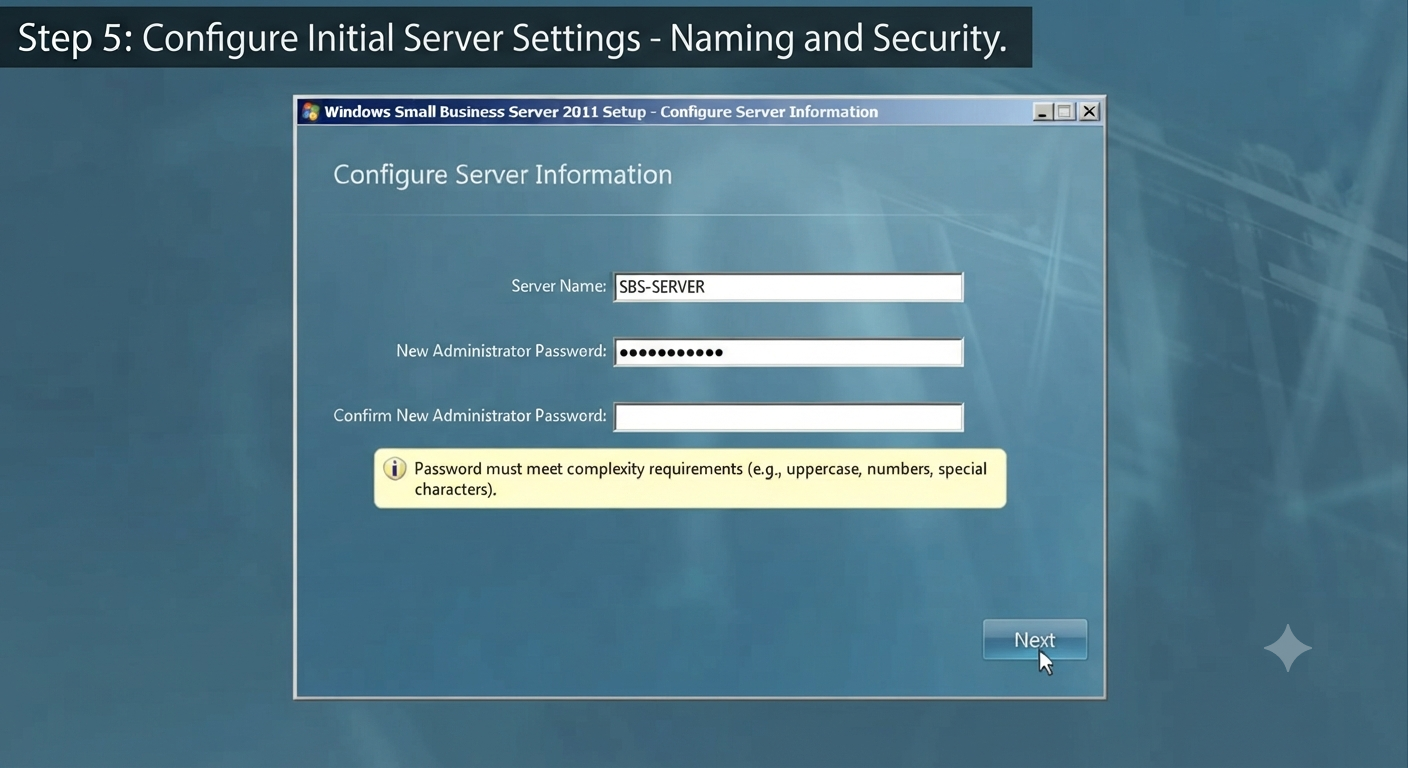
After the first reboot, the SBS setup wizard guides you through:
- Naming the server
- Creating the administrator account
- Configuring the internal domain
- Setting the date and time
Choose a domain name carefully, as changing it later can be difficult.
Configure Networking
Assign a static IP address to the server and verify that DNS settings point to the SBS server itself. Proper network configuration is critical because SBS integrates tightly with Active Directory and other services.
Complete the Setup Wizard
The installation wizard will configure components such as:
- Active Directory Domain Services
- DNS
- File sharing
- Exchange Server (depending on the edition)
This process may take some time. Avoid interrupting the server during configuration.
Install Drivers and Updates
After installation, install any necessary hardware drivers and apply the latest updates that remain available for the platform.
Even in isolated environments, updates can improve reliability and compatibility.
Create User Accounts and Shared Folders
Use the SBS Console to add users, assign permissions, and create shared folders for your organization. Establishing proper access controls from the beginning simplifies ongoing administration.
Implement Backups
Configure regular backups immediately after deployment. Reliable backups are especially important for legacy systems, where replacement parts and recovery options may be limited.
Security Considerations
Because SBS 2011 is out of support:
- Restrict internet exposure whenever possible.
- Use a firewall and strong passwords.
- Consider isolating the server from untrusted networks.
- Plan a migration to a supported platform.
These precautions help reduce the risks associated with running legacy software.
Common Installation Issues
Typical problems include:
- Missing storage or network drivers
- Incorrect DNS configuration
- Insufficient disk space
- Faulty installation media
Carefully reviewing hardware compatibility and network settings usually resolves these issues.
Best Practices for Legacy SBS Environments
To maintain a stable system:
- Document all configuration changes.
- Monitor backups regularly.
- Keep spare hardware when possible.
- Test recovery procedures.
- Develop a long-term migration strategy.
Frequently Asked Questions
Is Windows SBS 2011 still supported?
No. Microsoft has ended support for SBS 2011, meaning it no longer receives security updates or technical assistance.
Can I use SBS 2011 for a new business deployment?
It is not recommended. A currently supported server platform is a safer and more secure choice.
Do I need a static IP address?
Yes. A static IP address is strongly recommended for proper domain and DNS operation.
Can I upgrade directly from SBS 2011 to a modern Windows Server version?
There is no direct in-place upgrade path. Migration to a new server environment is typically required.
Conclusion
Installing Windows Small Business Server 2011 requires careful planning, proper hardware preparation, and attention to network configuration. While the platform can still serve legacy or lab environments, its unsupported status makes strong security practices and a future migration plan essential. By following a structured installation process and implementing sound administrative practices, you can maintain a stable SBS 2011 environment while preparing for an eventual transition to a modern server solution.