


How to Modify or Disable Windows 10 Lock Screen Timeout Settings
The lock screen timeout on Windows 10 determines how long your computer stays idle before the screen turns off and the system locks itself. While this is useful for security and battery saving, it can also be inconvenient—especially if your screen turns off too quickly during presentations, movies, or long downloads. Fortunately, Windows 10 allows you to change or completely disable the lock screen timeout through several methods, including Settings, Power Options, Registry Editor, and Command Prompt.
This comprehensive guide walks you through all the available methods to customize your lock screen timeout based on your needs.
Why Change the Lock Screen Timeout?
Different users require different screen timeout settings depending on their workflow. Customizing this setting provides several benefits:
-
Prevents your screen from locking while reading long documents
-
Avoids interruptions during gaming or watching videos
-
Saves power by reducing idle screen usage
-
Enhances convenience for work environments
-
Improves accessibility for users who need more time before the screen locks
Now, let’s look at various ways to modify this feature in Windows 10.
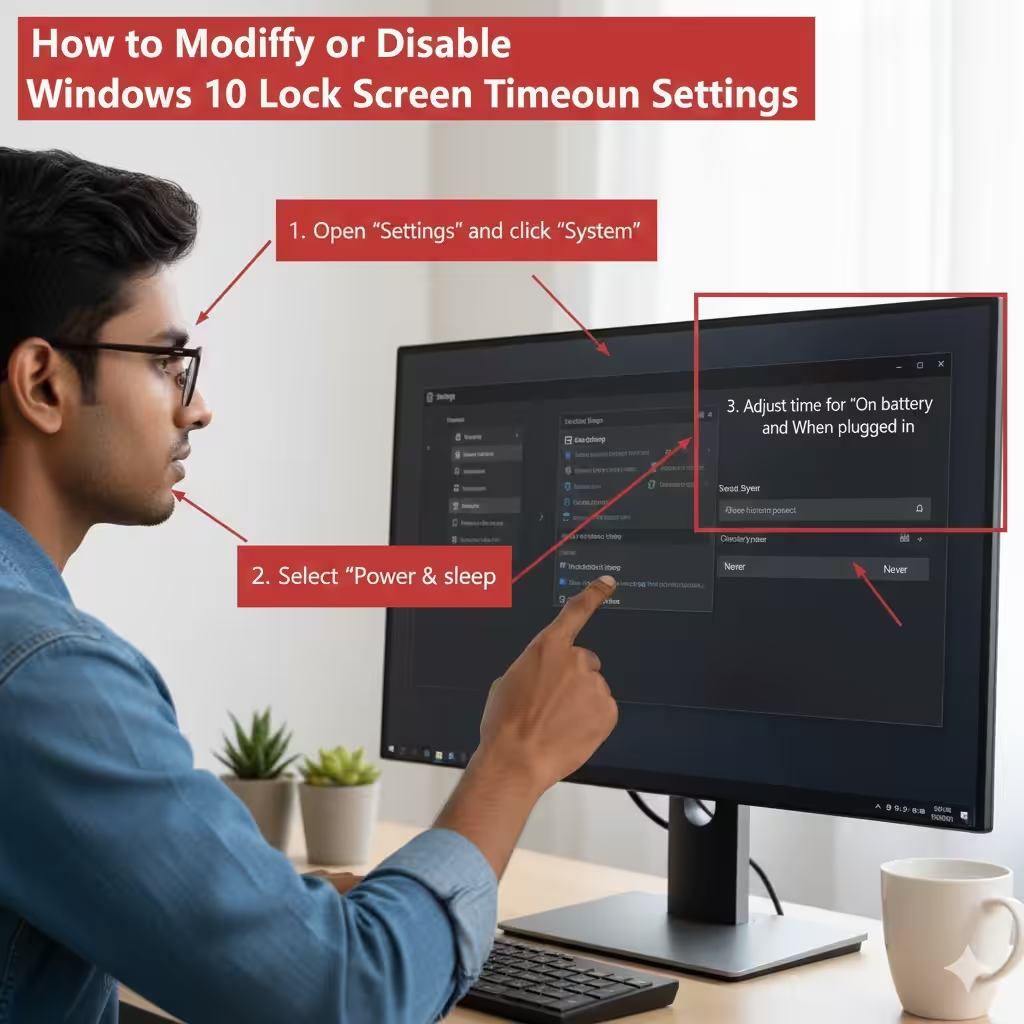
Change the Lock Screen Timeout Using Windows Settings
Windows Settings offers one of the simplest methods to modify how long the screen stays active when your device is idle.
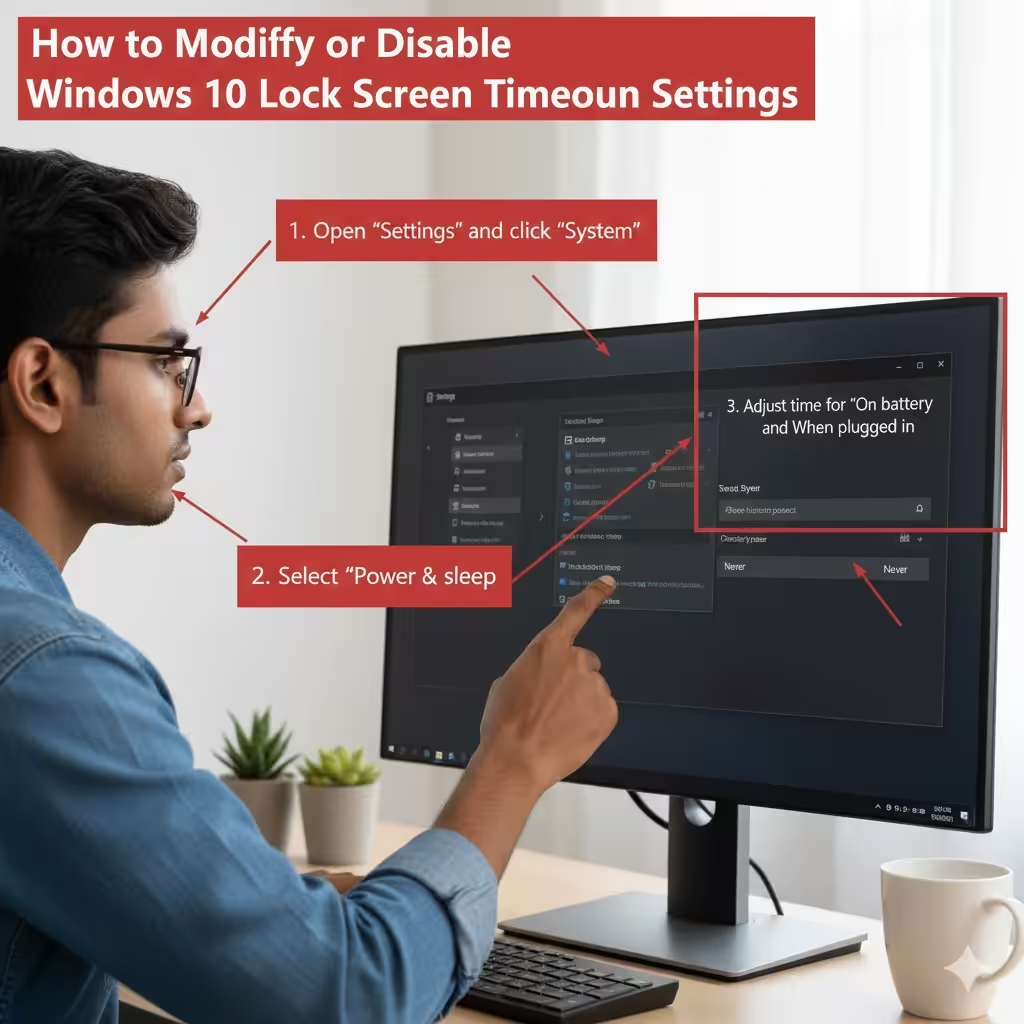
Steps to Adjust Lock Screen Timeout via Settings
-
Open Settings by pressing Win + I.
-
Select System.
-
Click Power & sleep.
-
Under Screen, choose how long the PC should wait before turning off the display.
-
Adjust the time for both On battery power and When plugged in (on laptops).
These settings indirectly affect the lock screen timeout because Windows locks the device once the screen turns off, depending on your security settings.
Why Use Settings?
-
User-friendly
-
No advanced steps needed
-
Works for both laptops and desktops
-
Quickly accessible for frequent adjustments
Disable Lock Screen Timeout Through Additional Power Settings
Windows hides advanced power settings by default, but you can enable them to customize the lock screen timeout more precisely.
Access Advanced Power Options
-
Open the Control Panel.
-
Choose Hardware and Sound.
-
Select Power Options.
-
Click Change plan settings next to your active power plan.
-
Select Change advanced power settings.
Enable Display Timeout Settings
In the Advanced Power Options window:
-
Expand Display.
-
Look for Console lock display off timeout.
-
If you don’t see this option, you must enable it using a Registry tweak (explained later).
-
-
Set the value (in minutes) for how long to wait before turning off the display after locking the device.
Benefits of This Method
-
Allows precise control over display timeout
-
Works even when the default Settings app doesn’t show required options
-
Ideal for power users
Enable Lock Screen Timeout Settings via Registry Editor
If the “Console lock display off timeout” option is missing in Advanced Power Settings, you need to enable it manually through the Registry.
Warning Before You Proceed
Editing the Windows Registry can cause system issues if done incorrectly. Always proceed carefully.
Steps to Enable Lock Screen Timeout in the Registry
-
Press Win + R, type regedit, and press Enter.
-
Navigate to:
-
Double-click Attributes in the right panel.
-
Change the value from 1 to 2.
-
Click OK and close the Registry Editor.
After Enabling the Setting
Now go back to:
Control Panel → Power Options → Change plan settings → Advanced power settings
You should now see Console lock display off timeout under the Display menu. Adjust it to your preference.
This method enables full customization of the lock screen timeout.
Change Lock Screen Timeout Using Command Prompt
If you prefer using command-line tools, the Command Prompt provides a quick and efficient method to modify the screen timeout.
Adjust Screen Timeout with CMD
-
Open Command Prompt as administrator.
-
To change the display timeout (in seconds), type:
This sets the display timeout to 10 minutes while plugged in.
For battery mode:
Replace 10 with any number of minutes you prefer.
Advantages of Using CMD
-
Fast and direct
-
Ideal for automation or scripting
-
No need to navigate through multiple menus
Change Lock Screen Timeout with PowerShell
PowerShell offers another efficient way to adjust lock screen and display timeout settings.
Command to Change Display Timeout
Open PowerShell as administrator and run:
This sets the monitor timeout to 600 seconds (10 minutes) on AC power.
Change Timeout on Battery
Then apply changes:
Why Use PowerShell?
-
Perfect for system admins
-
Allows scripted configuration
-
Offers more powerful control
Disable Lock Screen Timeout Entirely
If you prefer your screen never turning off or locking itself, Windows allows you to disable timeout settings.
How to Disable Screen Timeout
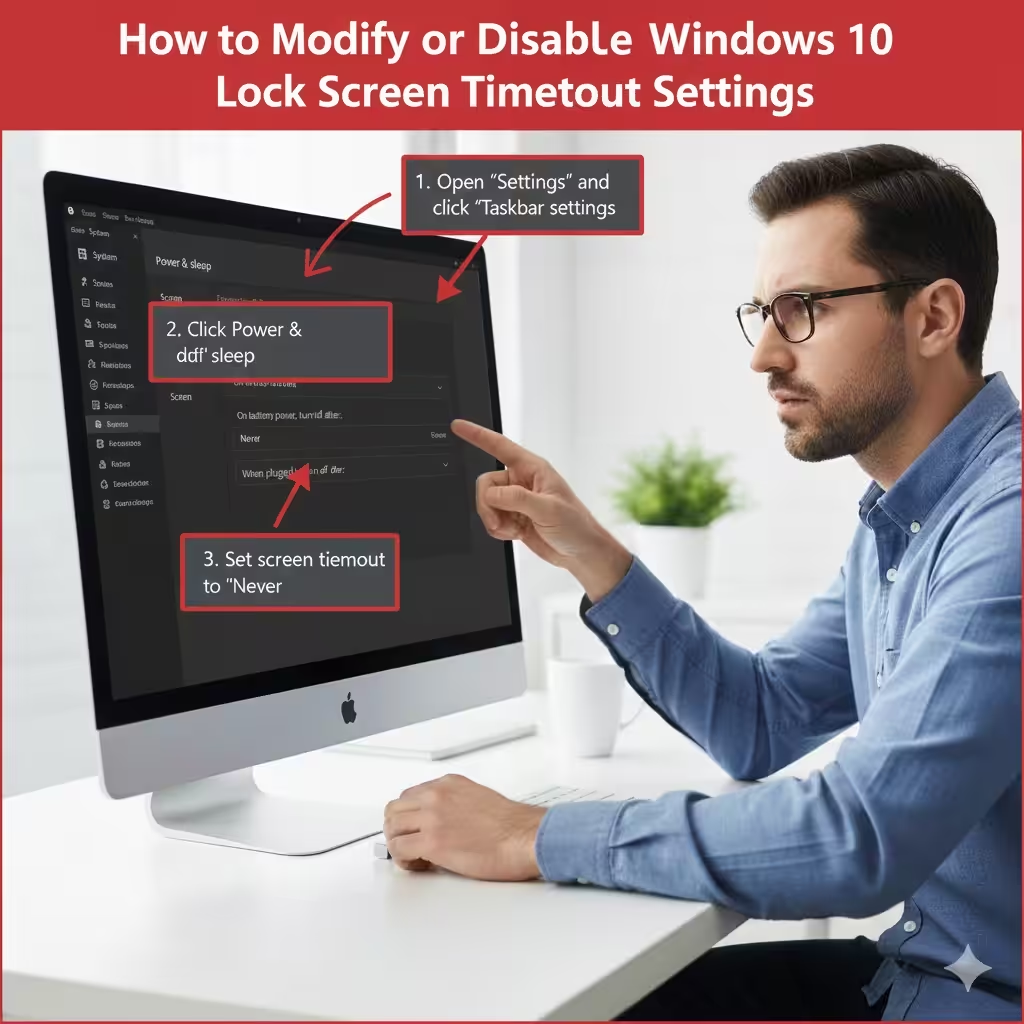
-
Open Settings → System → Power & sleep.
-
Under Screen, set both timers to Never.
-
Under Sleep, also set both timers to Never if you don’t want the PC to sleep.
Prevent Automatic Locking
-
Go to Settings → Accounts.
-
Select Sign-in options.
-
Under Require sign-in, choose Never.
This ensures your screen will not lock after the display turns off.
When to Disable Timeout
-
Watching movies
-
Running extended downloads
-
Presentations
-
Kiosks and public displays
Troubleshooting Lock Screen Timeout Issues
If your changes don’t seem to apply, try the following:
Common Fixes
-
Restart your PC
-
Reset your power plan
-
Ensure you are editing the active plan
-
Disable third-party power management apps
-
Update Windows
-
Check your screensaver settings (screensaver can override timeouts)
If a corporate or school policy manages your settings, you may need admin privileges.
Final Thoughts
Customizing or disabling the lock screen timeout on Windows 10 can greatly improve your workflow, comfort, and productivity. Whether you prefer using Windows Settings for simplicity, Advanced Power Options for precision, Registry Editor for unlocking hidden features, or command-line tools for automation, Windows offers plenty of ways to control how your screen behaves when idle.
By following the steps in this guide, you can ensure your screen stays active as long as you want or conserves energy when needed. If you’d like another article in the same style, feel free to request it anytime!