


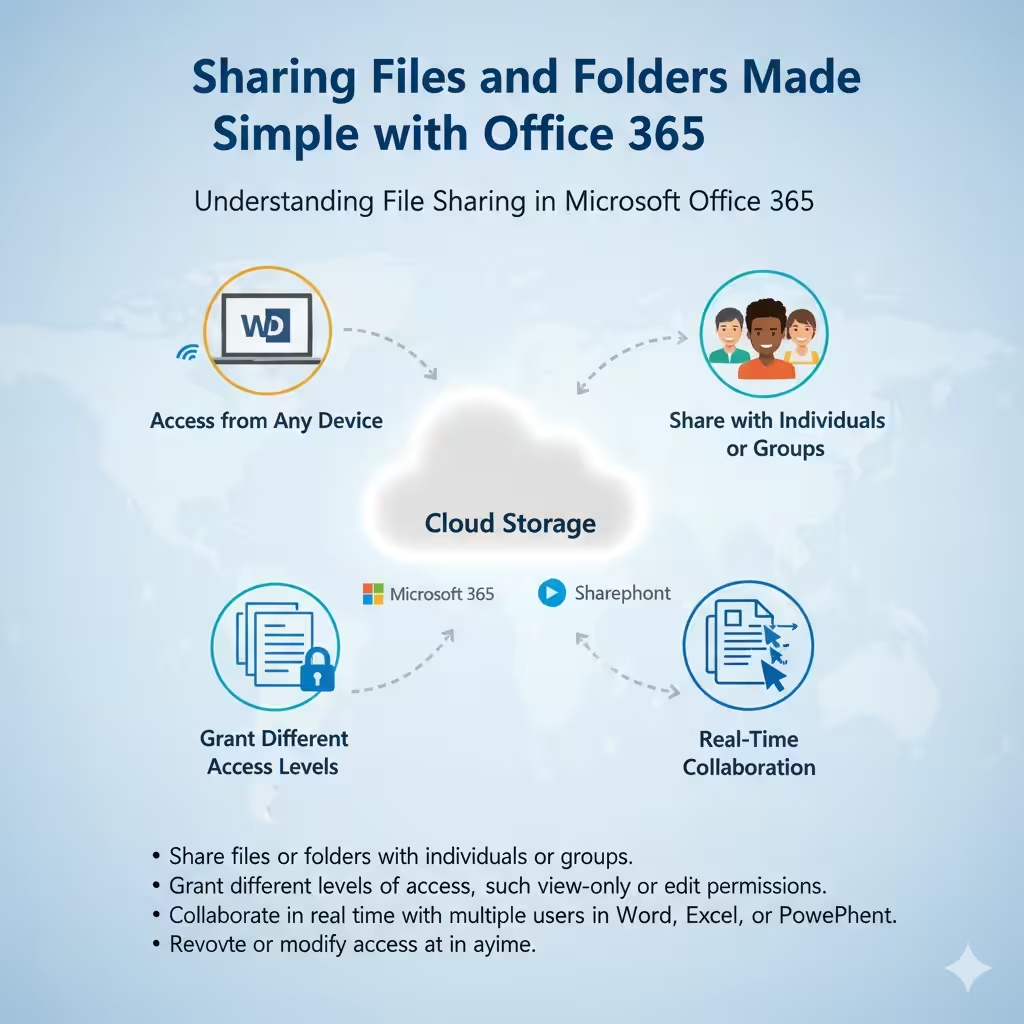
Steps to Make a Document Using Microsoft Word
Creating a document in Microsoft Word is one of the most basic yet essential skills for anyone who uses a computer—whether for school, work, or personal projects. Microsoft Word provides a wide range of tools that make writing, formatting, and designing documents simple and professional.
In this comprehensive guide, you’ll learn how to create a new document in Word, save it properly, choose templates, format your content, and make the most of Word’s editing and design features. By the end, you’ll be able to create documents that look clean, structured, and ready for presentation or sharing.
Understanding Microsoft Word
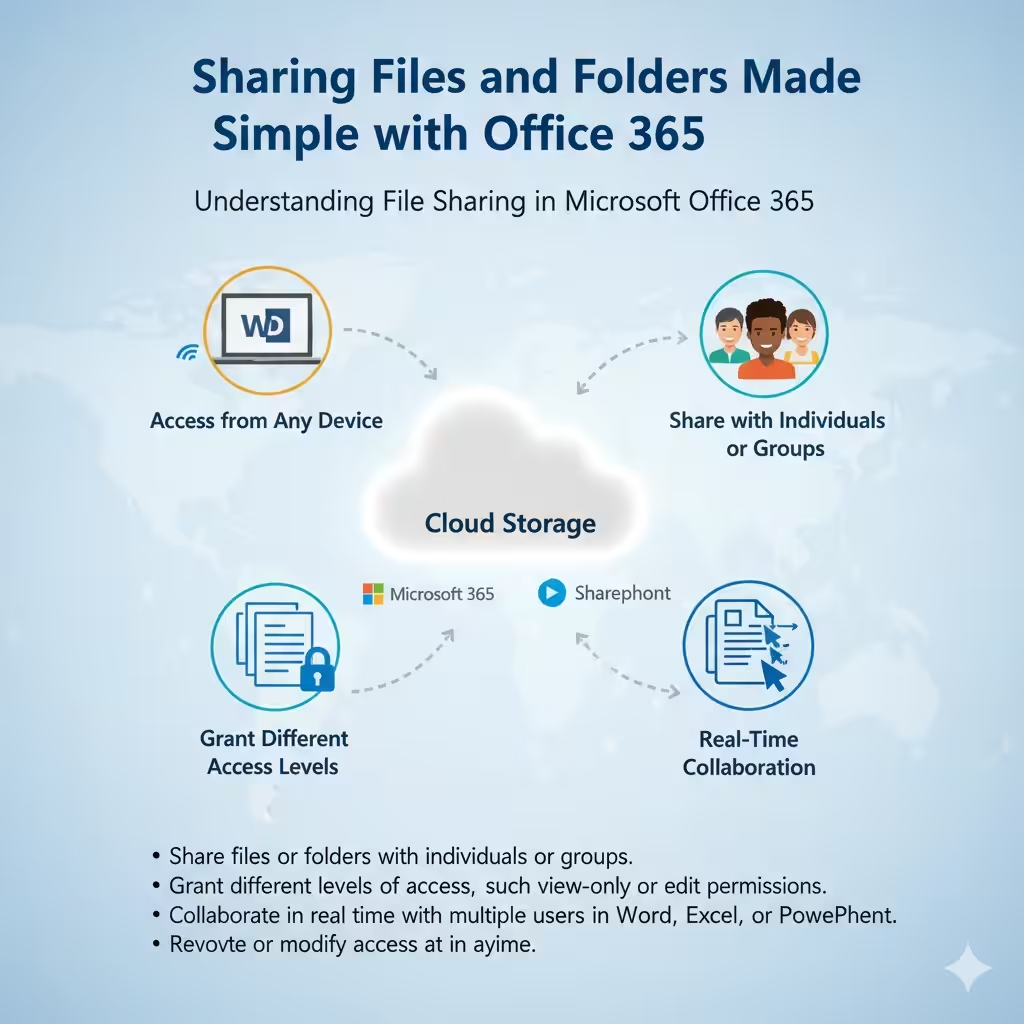
Microsoft Word is part of the Microsoft Office suite and is one of the most popular word processing applications in the world. It allows users to create, edit, and share text-based documents such as letters, reports, resumes, and essays.
What makes Word so powerful is its user-friendly interface, customizable templates, and advanced formatting tools that make your work look professional without requiring design expertise.
Whether you’re starting a new project from scratch or working with a pre-designed layout, Word offers a smooth and efficient document creation experience.
Starting a New Document
When you open Microsoft Word, you’ll be greeted with the Start screen, which gives you options for creating a new document or opening an existing one.
Creating a Blank Document
To start from scratch:
-
Open Microsoft Word.
-
On the Home or Start screen, click Blank Document.
-
A new empty page will appear where you can begin typing.
This is the most flexible option if you want full control over layout, design, and content.
Using a Template
Microsoft Word also includes dozens of pre-designed templates for various document types.
To use a template:
-
Open Word and click New.
-
Browse through available templates or use the search bar to find a specific one (like Resume, Invoice, or Report).
-
Select a template and click Create.
Templates save time and ensure your document looks professional with consistent fonts, headings, and colors.
Naming and Saving Your Document
Saving your document properly is crucial to prevent losing your work.
Saving for the First Time
-
Click File on the top-left corner of Word.
-
Choose Save As.
-
Select a location—such as This PC, Documents, or OneDrive.
-
Enter a file name.
-
Click Save.
Saving to OneDrive
If you want cloud access, select OneDrive as your save location. This allows you to open and edit your document from any device with your Microsoft account.
Autosave Feature
Word also includes an Autosave function (especially in Office 365 versions). If enabled, Word will automatically save changes as you type—minimizing the risk of data loss due to unexpected shutdowns.
Entering and Formatting Text
Once your document is ready, you can start typing and formatting your text.
Changing Font and Style
To modify your text’s appearance:
-
Highlight the text.
-
Go to the Home tab.
-
In the Font section, you can:
-
Change font type (e.g., Arial, Calibri, Times New Roman).
-
Adjust size (e.g., 12 pt for normal text, 14 pt for subheadings).
-
Apply bold, italics, or underline.
-
Change text color.
-
Choosing the right font helps convey professionalism and readability.
Aligning Text
In the Paragraph group, you can align text as:
-
Left-aligned (Ctrl + L) – standard for most documents.
-
Center-aligned (Ctrl + E) – ideal for titles.
-
Right-aligned (Ctrl + R) – often used for dates or signatures.
-
Justified (Ctrl + J) – evenly spaces text across both margins for a polished look.
Adjusting Line and Paragraph Spacing
To improve readability:
-
Highlight the paragraph.
-
Click Line and Paragraph Spacing on the Home tab.
-
Choose spacing options like 1.0, 1.5, or 2.0.
You can also add spacing before or after paragraphs for a cleaner layout.
Adding Headings and Styles
Headings help structure your document and make it easy to navigate, especially for longer reports or essays.
To apply a heading style:
-
Highlight your section title.
-
Go to the Home tab.
-
Select Heading 1, Heading 2, or Heading 3 from the Styles gallery.
Headings not only make your text stand out but also allow Word to automatically generate a Table of Contents later if needed.
Inserting Images, Tables, and Objects
Adding visual elements enhances the quality and engagement of your document.
Inserting an Image
-
Place your cursor where you want the image.
-
Go to Insert → Pictures.
-
Choose from This Device, Stock Images, or Online Pictures.
-
Select the image and click Insert.
You can resize or move the image by dragging its corners.
Adding a Table
-
Go to Insert → Table.
-
Drag to select the number of rows and columns.
-
Fill in your data.
You can customize table styles, colors, and borders from the Table Design tab.
Inserting Other Elements
Word also allows you to insert charts, shapes, icons, and SmartArt for visual presentation. These can be found in the Insert tab as well.
Using Headers, Footers, and Page Numbers
Headers and footers are useful for adding information like document titles, page numbers, or author names.
To insert them:
-
Go to the Insert tab.
-
Click Header or Footer.
-
Choose a style and type your content.
For page numbers:
-
Click Insert → Page Number.
-
Choose location (top, bottom, or margins).
These elements make your document look more structured and professional.
Proofreading and Reviewing
Before sharing your document, it’s important to review and check for errors.
Using Spelling and Grammar Check
-
Go to the Review tab.
-
Click Spelling & Grammar.
-
Review Word’s suggestions and apply corrections as needed.
Using Track Changes and Comments
For collaboration:
-
Enable Track Changes under the Review tab.
-
Any edits you make will be highlighted.
-
Use New Comment to add notes or feedback.
This is perfect for team projects or when working with editors.
Saving and Exporting Your Document
Once your document is complete, you can save or export it in various formats.
-
Save as DOCX – the default Word format.
-
Save as PDF – ideal for sharing or printing without formatting issues.
-
Save as RTF or TXT – for basic text compatibility.
To export:
-
Click File → Save As → choose file type.
-
Or click File → Export → Create PDF/XPS Document.
Printing and Sharing Your Document
To print:
-
Go to File → Print.
-
Select printer, page range, and settings.
-
Click Print.
To share digitally:
-
Go to File → Share.
-
Choose Email, OneDrive, or Share Link.
Sharing directly from Word makes collaboration and feedback easy.
Conclusion
Creating a document in Microsoft Word is simple once you understand the key steps—from opening a new file and formatting text to inserting visuals and proofreading your work.
With tools for layout design, text formatting, templates, and collaboration, Microsoft Word empowers users to produce professional-quality documents in just a few clicks.