


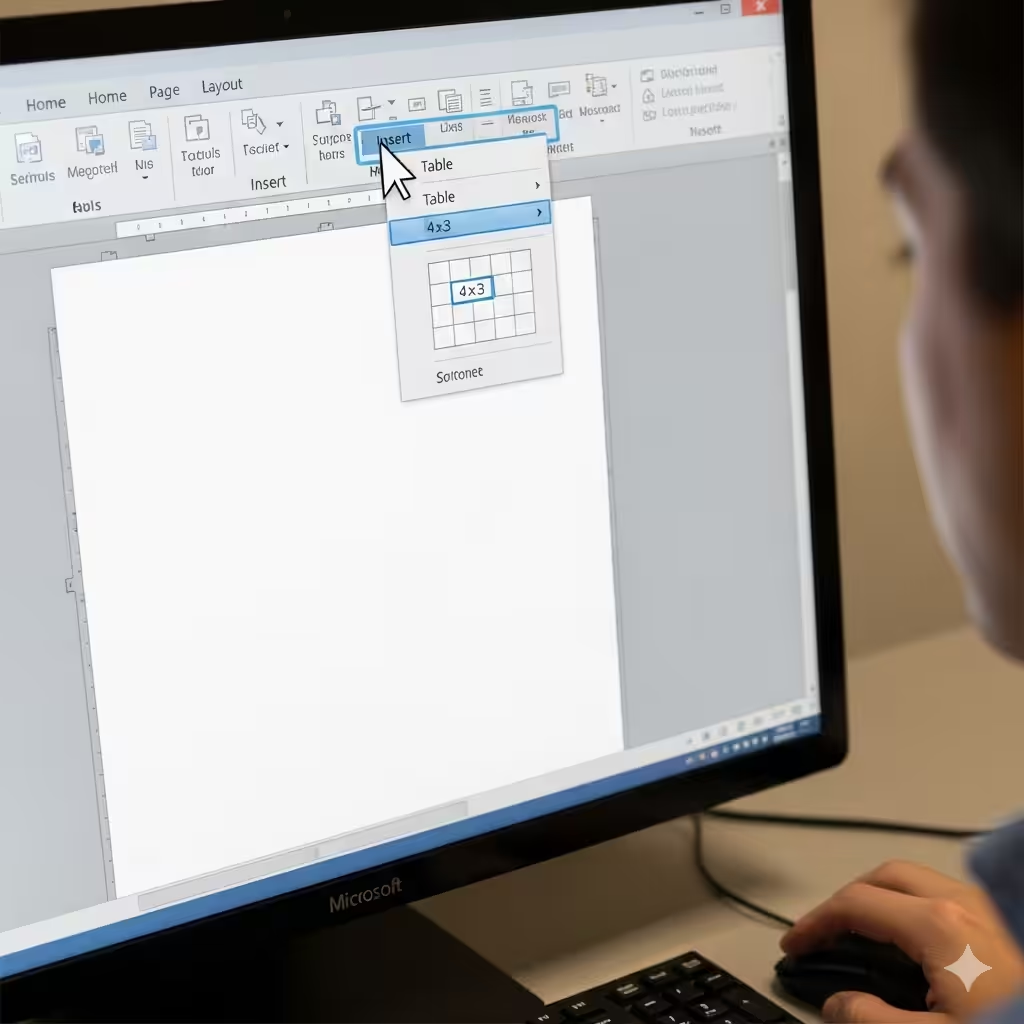
How to Insert and Format Tables in Microsoft Word

Microsoft Word is more than just a word processor—it is also a powerful tool for creating and organizing structured information. One of the most effective ways to present data clearly in Word is by using tables. Tables allow you to display information in rows and columns, making it easier for readers to understand and compare details.
In this guide, you will learn how to add a table in Microsoft Word and how to customize it to suit your needs, whether you are creating a school assignment, a business report, or a professional document.
Why Use Tables in Word?

Tables are useful in a wide range of scenarios:
-
Organizing data such as schedules, comparisons, or contact lists.
-
Improving readability by breaking down complex information into smaller, structured sections.
-
Enhancing design when used in resumes, invoices, and forms.
With the right formatting, a table can make your document look more professional and easier to follow.
How to Insert a Table in Word
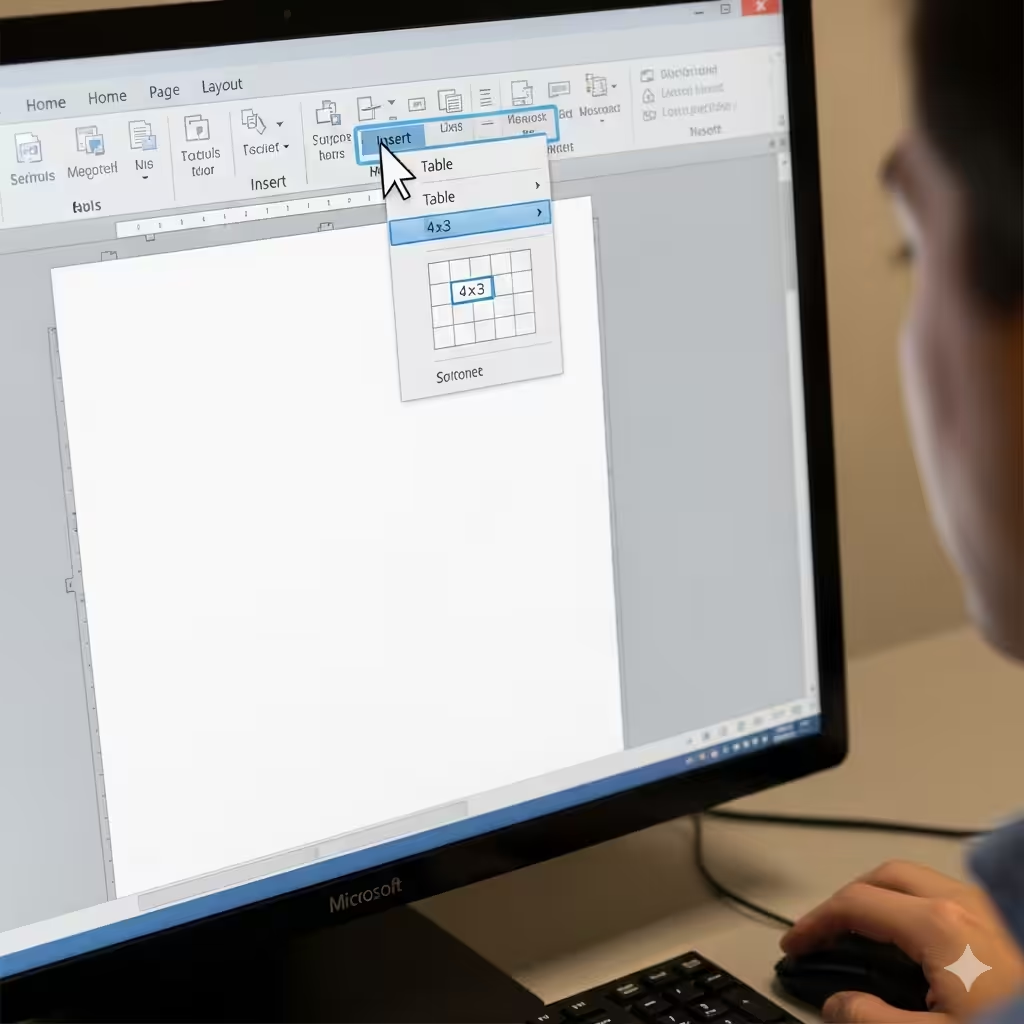
Word provides several methods for adding a table.
Using the Insert Tab
-
Place your cursor where you want the table.
-
Go to the Insert tab on the ribbon.
-
Click Table.
-
Hover over the grid and select the number of rows and columns you need.
This is the fastest way to insert a table with a simple structure.
Using the Insert Table Dialog Box
-
Go to the Insert tab.
-
Select Table > Insert Table.
-
Enter the number of rows and columns.
-
Adjust the column width if needed.
This option gives you more control over the initial design of your table.
Drawing a Table
-
Select Insert > Table > Draw Table.
-
Use your mouse to draw the outline of the table.
-
Draw custom rows and columns as required.
This is useful when you need tables of unusual shapes or different-sized cells.
Converting Text to a Table
-
Select the text you want to turn into a table.
-
Go to Insert > Table > Convert Text to Table.
-
Choose how you want to separate the text (tabs, commas, or paragraphs).
This feature saves time when you already have raw data in your document.
Customizing Your Table
After inserting a table, you can customize it to make it visually appealing and functional.
Adjusting Table Size
-
Drag the edges of the table to resize it manually.
-
Use the Layout tab under Table Tools to set exact row height and column width.
Merging and Splitting Cells
-
Merge Cells: Select two or more cells, then click Merge Cells in the Layout tab.
-
Split Cells: Select a cell, then click Split Cells to divide it into multiple rows or columns.
This allows you to create unique table layouts.
Formatting Text in Tables
-
Highlight the text and use the Home tab to change font style, size, or color.
-
Apply bold, italics, or underline to emphasize key information.
Adding Borders and Shading
-
Use the Design tab under Table Tools to add or remove borders.
-
Apply shading to cells for better visibility or to highlight specific rows and columns.
Applying Table Styles
Word includes built-in Table Styles that allow you to apply pre-designed formatting instantly.
-
Select your table.
-
Go to Table Tools > Design.
-
Choose a style from the gallery.
You can also customize a style by modifying border colors, shading, and fonts.
Advanced Customization Options
Sorting Data in a Table
-
Select the column you want to sort.
-
Go to Layout > Sort.
-
Choose ascending or descending order.
This is particularly useful for organizing names, dates, or numerical data.
Adding Formulas
You can perform simple calculations directly inside a Word table.
-
Place the cursor in the cell where you want the result.
-
Go to Layout > Formula.
-
Use formulas like =SUM(ABOVE) to add numbers from the column above.
Aligning Text in Cells
-
Select the cell or row.
-
In the Layout tab, choose alignment options such as top, middle, or bottom, with left, center, or right alignment.
This ensures your data looks balanced and professional.
Using Table Properties
Right-click on the table and select Table Properties to fine-tune settings such as:
-
Table alignment (left, center, or right).
-
Automatic text wrapping around the table.
-
Specific row or column measurements.
Best Practices for Designing Tables
-
Keep it simple: Avoid too many colors, borders, or complex layouts.
-
Highlight important rows: Use shading for headers or total rows.
-
Align data properly: Numbers should usually be right-aligned, while text is left-aligned.
-
Use consistent formatting: Keep the style uniform throughout the document.
-
Preview before printing: Ensure the table fits properly on the page.
Common Mistakes to Avoid
-
Overcrowding tables: Too much information in one table makes it hard to read.
-
Random formatting: Mixing styles can make your document look unprofessional.
-
Ignoring alignment: Misaligned data can confuse readers.
-
Not adjusting for page size: Wide tables may get cut off when printed.
Conclusion
Learning how to add and customize a table in Microsoft Word is an essential skill for anyone who wants to create professional, organized documents. From simple data organization to advanced formatting with formulas and styles, Word gives you the flexibility to design tables that fit your specific needs.
By mastering the basics—such as inserting, resizing, and formatting tables—and exploring advanced features like sorting and formulas, you can elevate the quality of your documents significantly. Tables not only make your content look structured and polished but also help convey information more clearly and effectively.