



Step-by-Step Guide to Making Custom Templates in PowerPoint
PowerPoint is one of the most widely used tools for creating engaging presentations. Whether you are preparing a business pitch, an academic lecture, or a creative portfolio, your presentation’s design plays a big role in how effectively your message is delivered. While PowerPoint comes with built-in themes and templates, creating your own custom template allows you to tailor the look and feel to perfectly match your brand, style, or purpose.
This guide will walk you through the steps of creating a custom PowerPoint template, explain key features, and provide tips for making your templates professional and reusable.
What Is a PowerPoint Template?
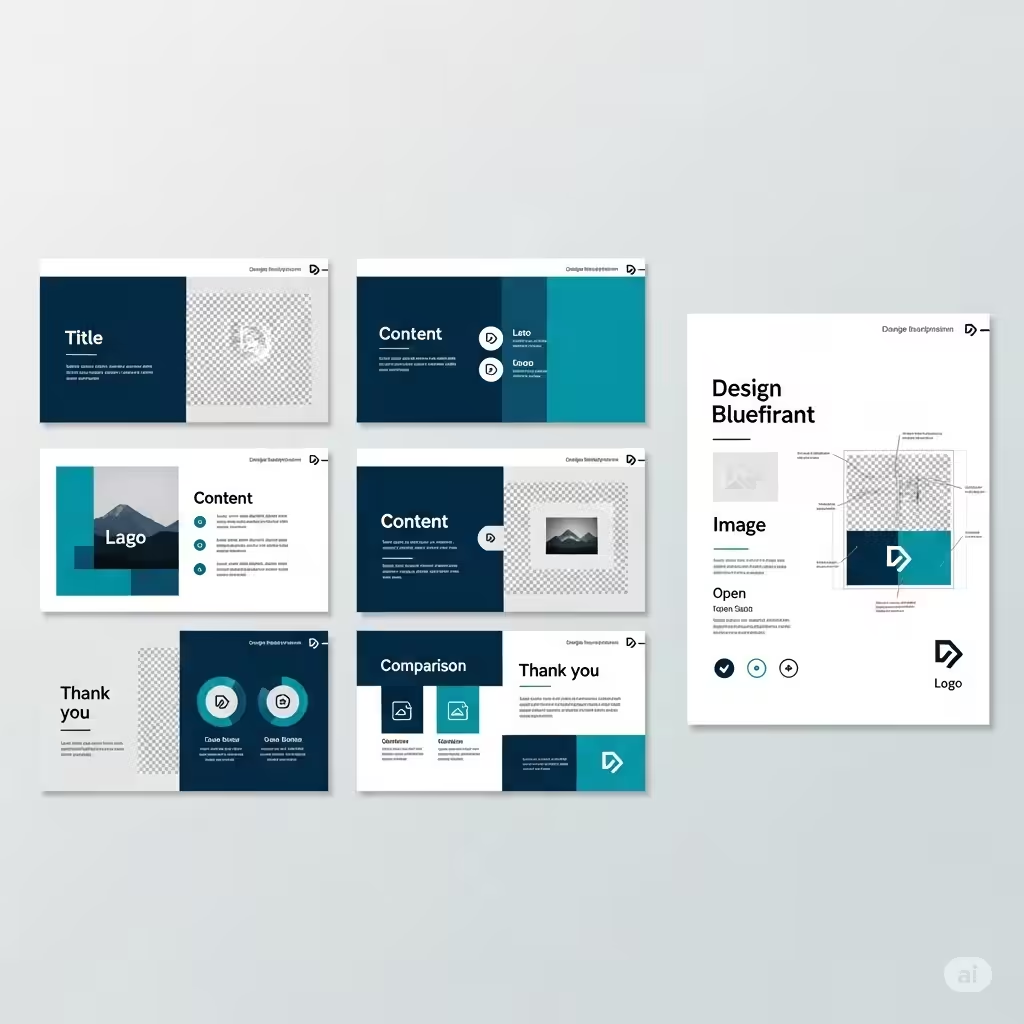
A PowerPoint template is a pre-designed framework that defines the appearance and structure of your presentation slides. It typically includes:
-
Slide layouts (title slides, content slides, comparison slides, etc.)
-
Fonts and text formatting
-
Colors and background styles
-
Placeholder elements for text, images, charts, and more
By creating a custom template, you save time on future presentations while ensuring a consistent and professional design.
Why Create Your Own PowerPoint Template?
There are many benefits to designing your own template instead of relying on PowerPoint’s built-in themes:
-
Brand Consistency: Ensure your company’s colors, logo, and fonts are always applied.
-
Time Efficiency: Reuse the same template for multiple projects without redesigning slides.
-
Professional Appearance: A unique, well-structured design sets your presentation apart.
-
Customization: Adjust layouts and elements to fit your specific needs.
Creating a custom template is especially valuable for businesses, educators, and individuals who present frequently.
Step 1: Open the Slide Master View
The foundation of every custom template in PowerPoint is the Slide Master. This feature allows you to control the overall design and layouts across your presentation.
How to Access Slide Master:
-
Open PowerPoint.
-
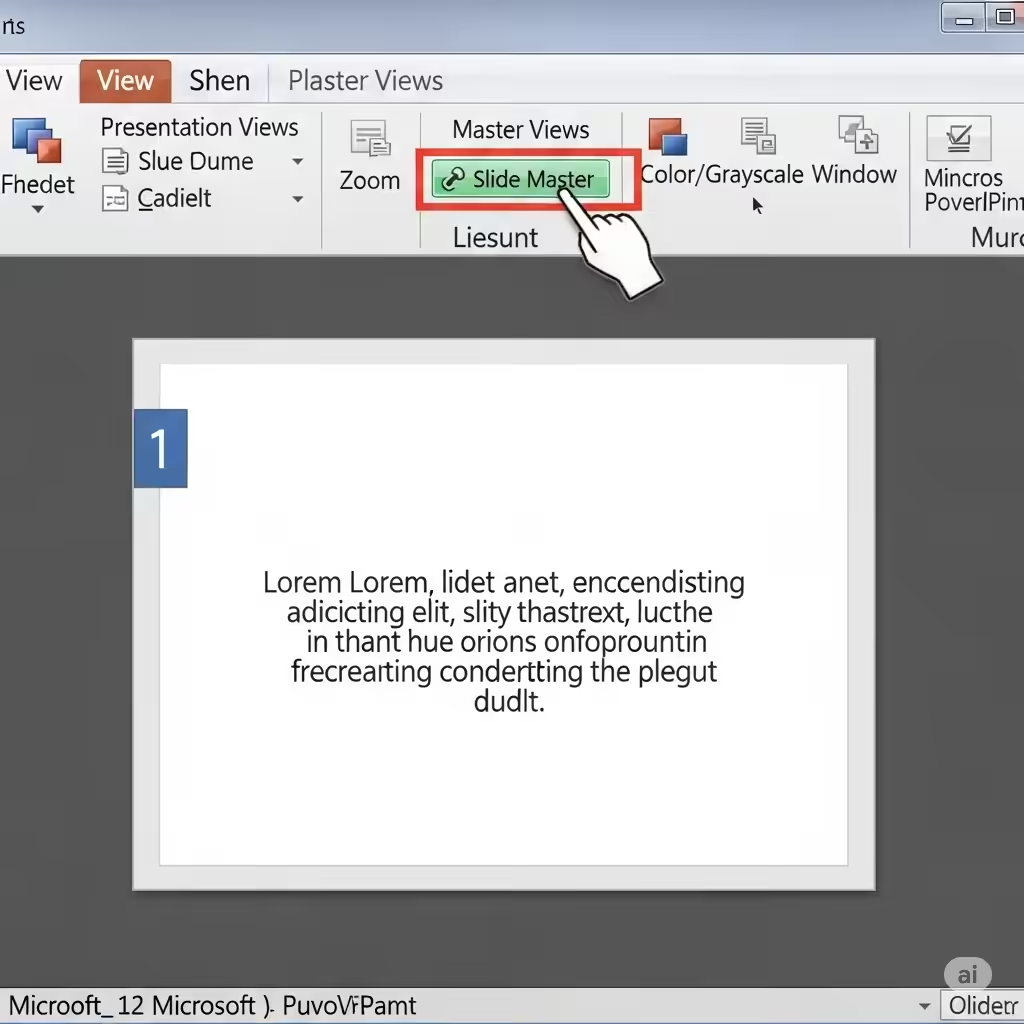
Go to the View tab in the ribbon.
-
Click Slide Master in the Master Views group.
The Slide Master will appear, displaying the master slide at the top and multiple layout slides below it. Any change you make to the master slide will affect all slides using that layout.
Step 2: Customize the Master Slide
The Master Slide is where you define the global design of your template.
Key Customizations:
-
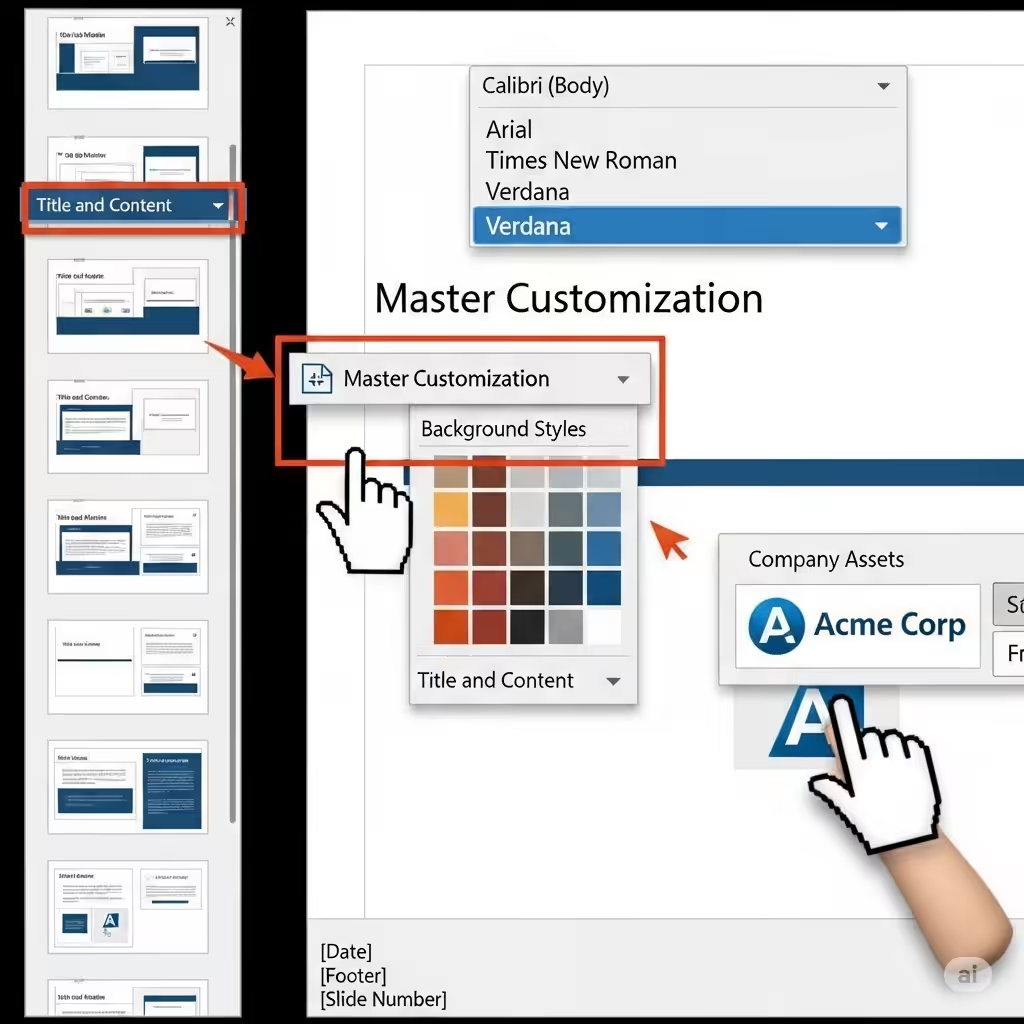
Background: Add a solid color, gradient, or image background that matches your branding.
-
Fonts: Choose heading and body text fonts that are readable and consistent.
-
Colors: Define a color palette for text, shapes, and accents.
-
Logo or Watermark: Insert your company logo or branding element in a fixed position (e.g., bottom corner).
These changes will automatically apply to all associated layouts.
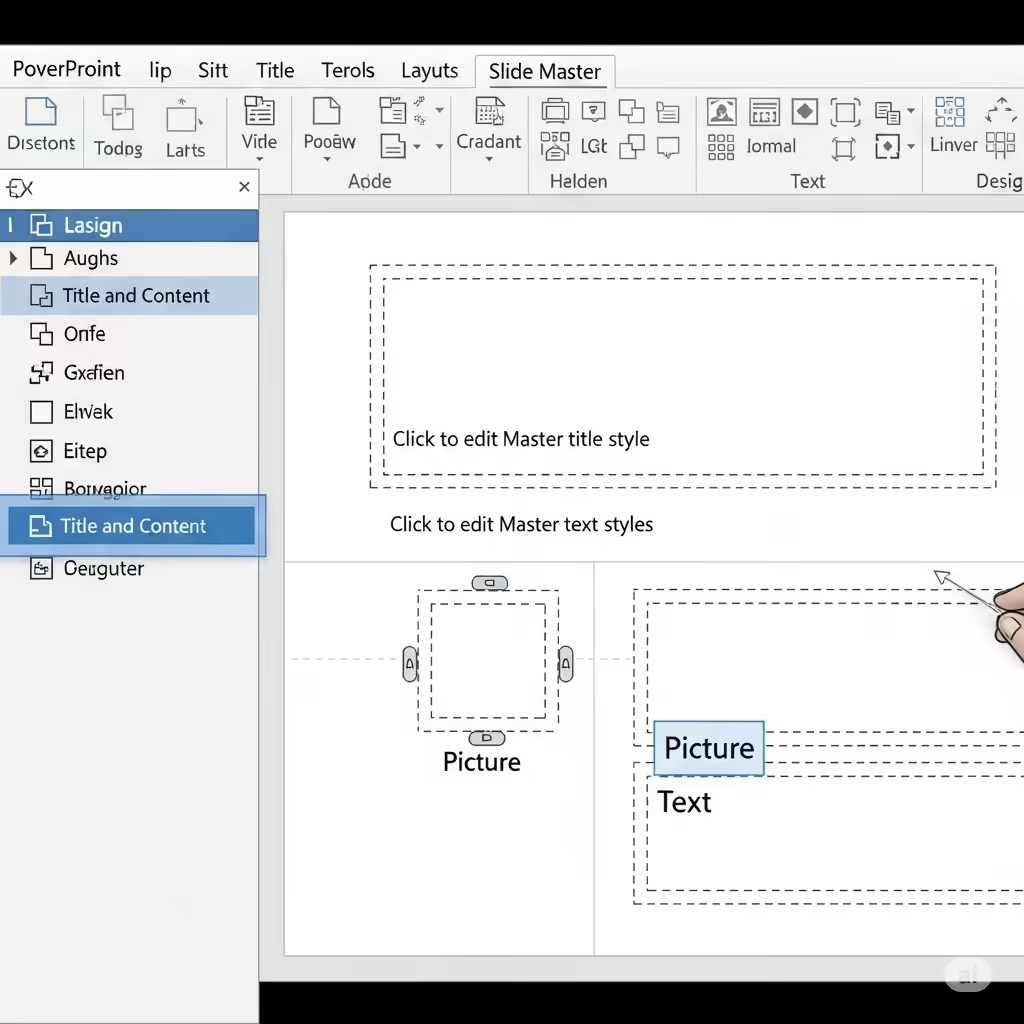
Step 3: Edit the Layouts
Layouts define how content is arranged on different types of slides. PowerPoint provides several default layouts, such as Title Slide, Title and Content, Two Content, and Comparison.
How to Customize Layouts:
-
In Slide Master view, select a layout below the master slide.
-
Add or remove placeholders (text boxes, images, charts, etc.) using the Insert Placeholder option.
-
Adjust spacing, alignment, and formatting to match your design.
-
Rename layouts if needed to make them easier to identify later.
For example, you might create a layout with extra image placeholders if your presentations are highly visual.
Step 4: Save Your Template
Once you’ve finished customizing your Slide Master and layouts, you need to save your work as a template file.
How to Save as a Template:
-
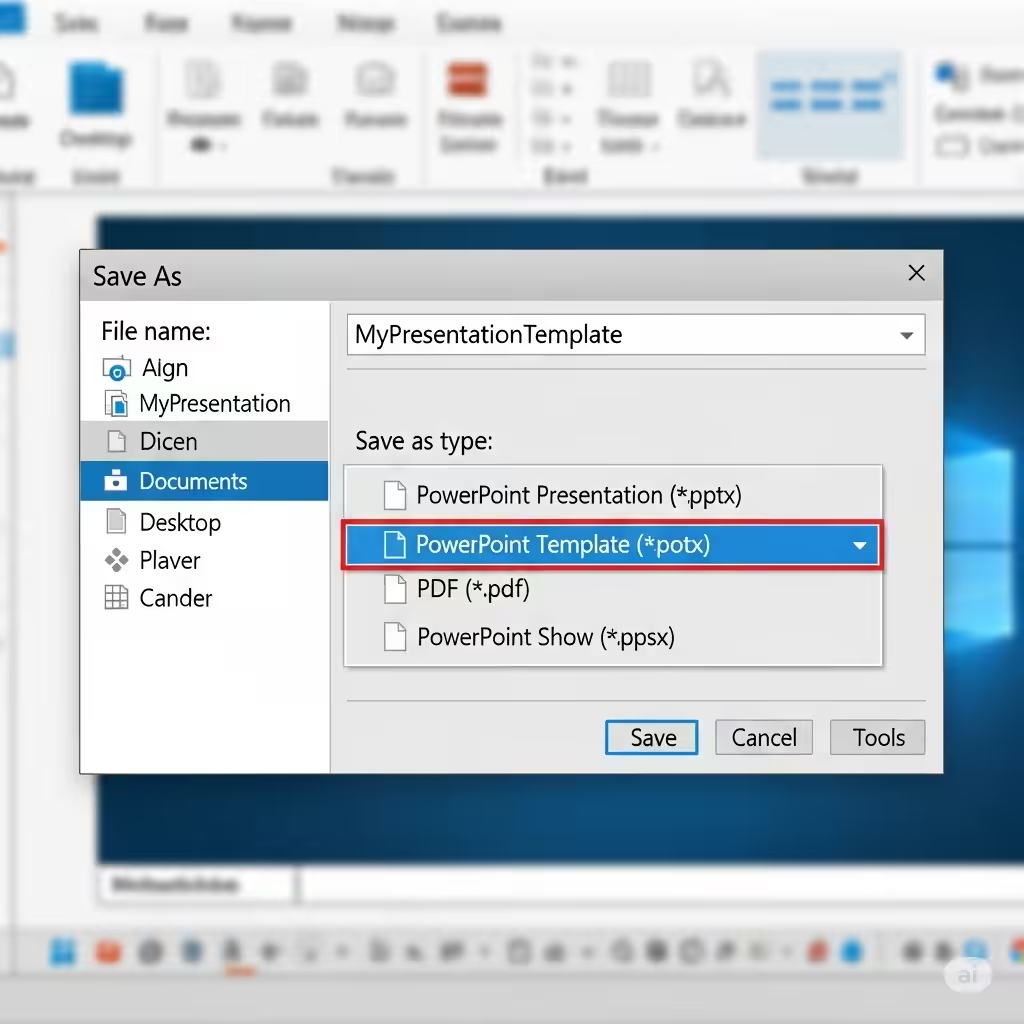
Click File > Save As.
-
Choose a location on your computer.
-
Under Save as type, select PowerPoint Template (*.potx).
-
Give your template a name and save it.
By saving it as a .POTX file, you can use the design in future presentations without overwriting your work.
Step 5: Apply Your Template to a Presentation
To use your custom template in a new presentation:
-
Open PowerPoint.
-
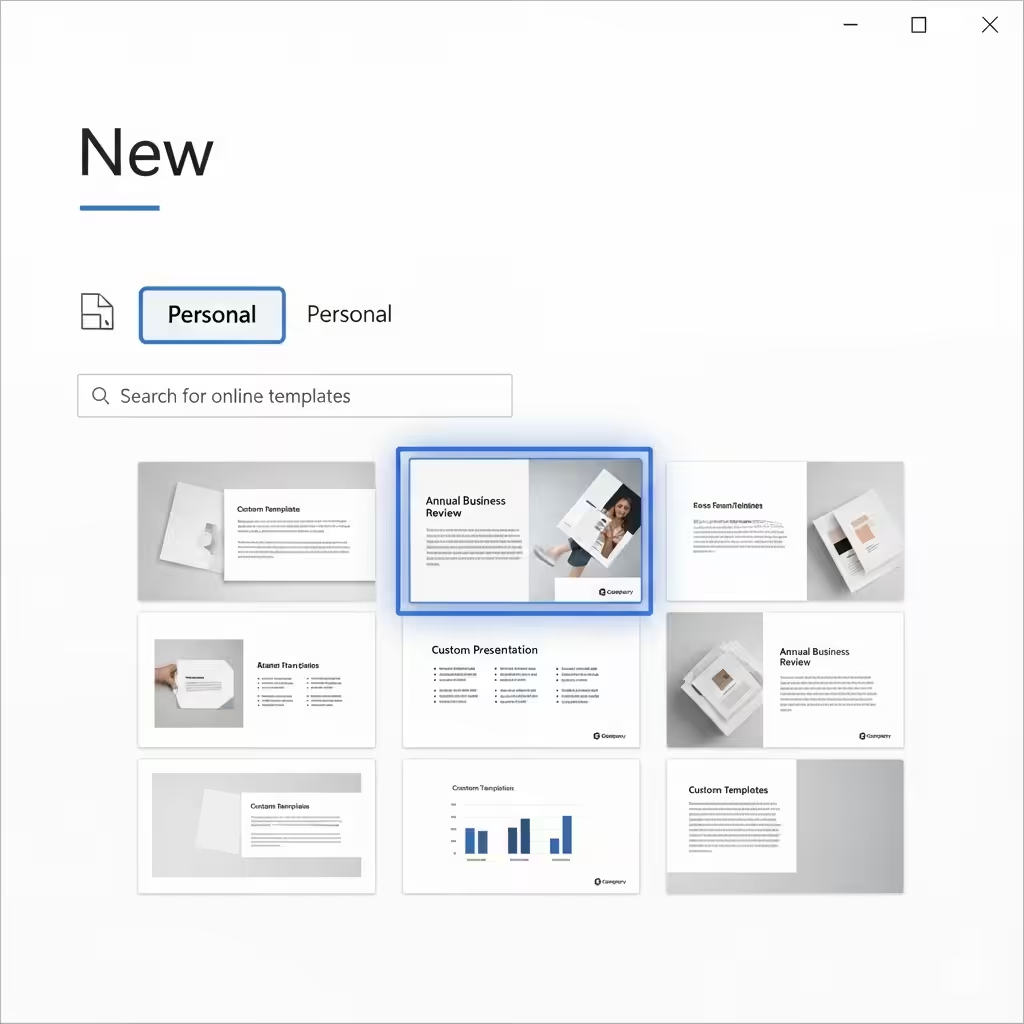
Go to File > New.
-
Select Personal (or Custom) to view your saved templates.
-
Choose your custom template and start creating slides.
Your custom styles, layouts, and colors will be automatically applied.
Tips for Designing Effective Templates
Creating a functional and attractive template goes beyond just aesthetics. Here are some practical tips:
-
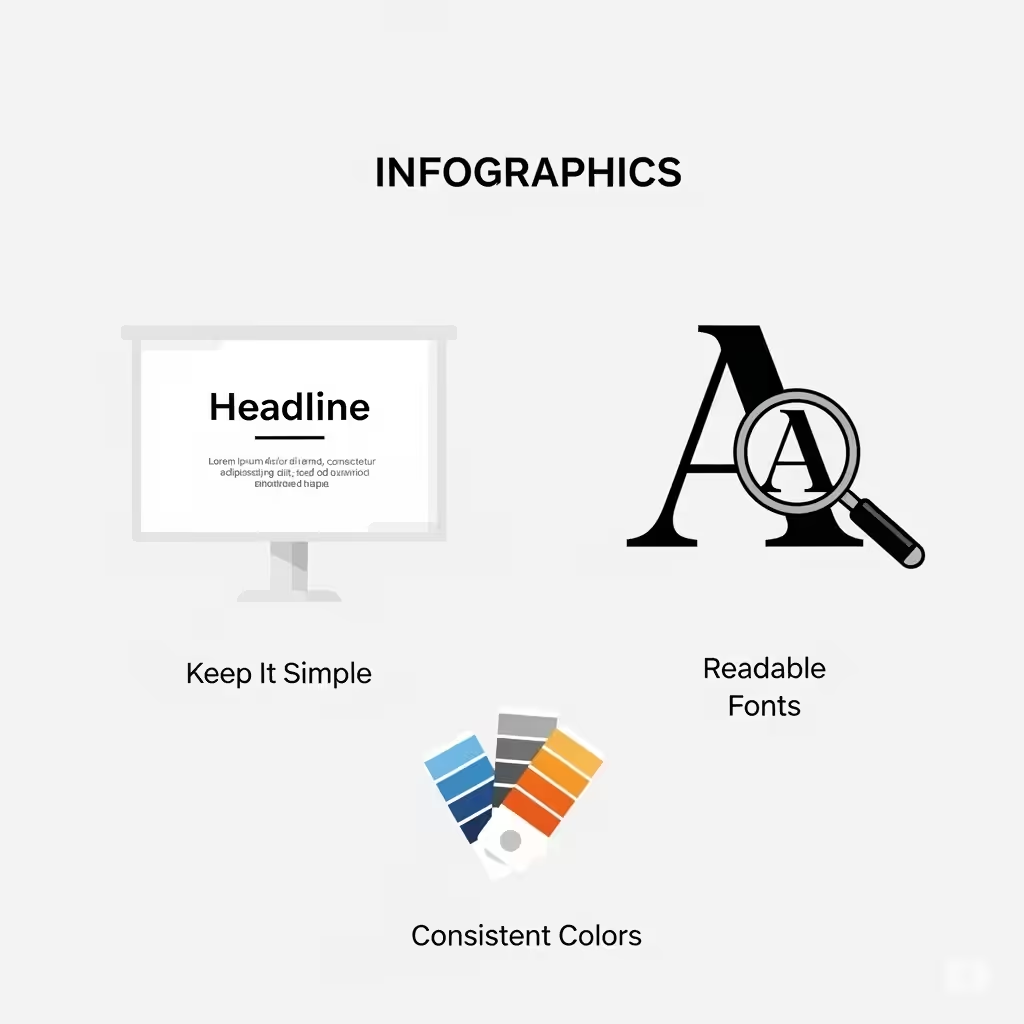
Keep It Simple: Avoid overcrowding slides with too many elements. Simplicity ensures focus on the content.
-
Choose Readable Fonts: Stick to professional fonts like Calibri, Arial, or Helvetica for clarity.
-
Use Consistent Colors: Limit your palette to three or four complementary colors.
-
Plan for Flexibility: Include different layouts (title, text, image-heavy, comparison) so the template works for multiple purposes.
-
Test Your Template: Apply it to a sample presentation to see how it performs in practice.
Advanced Customization Options
For users who want to go beyond basic templates, PowerPoint offers advanced customization:
-
Custom Themes: Create a theme file that includes fonts, colors, and effects for consistency.
-
Slide Transitions and Animations: Define subtle animations within the template.
-
Interactive Elements: Add clickable buttons or navigation for non-linear presentations.
-
SmartArt and Charts Styles: Predefine visual styles for diagrams and charts.
These enhancements make your template more versatile and engaging.

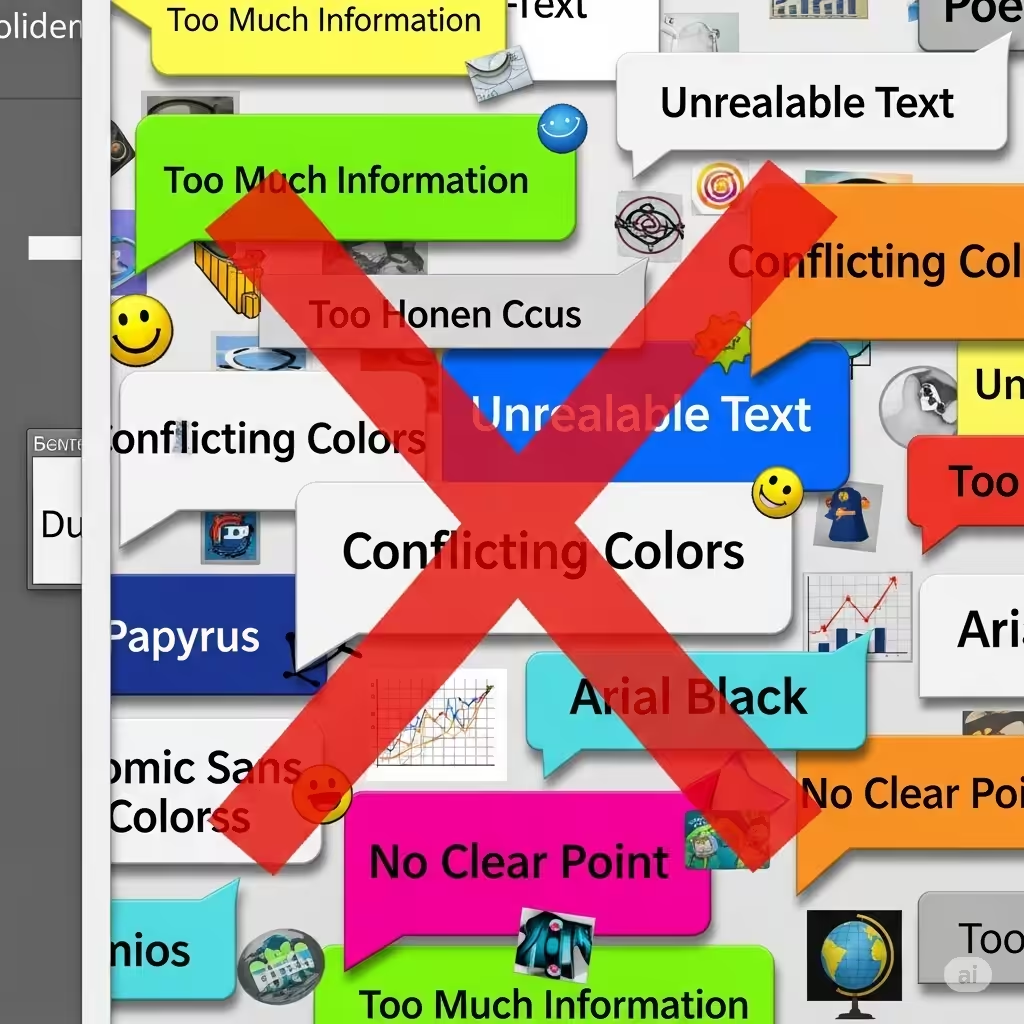
Common Mistakes to Avoid
When creating custom templates, it’s easy to make mistakes that reduce their effectiveness. Watch out for:
-
Overcomplicating Designs: Too many graphics or animations can distract from content.
-
Low-Contrast Text: Always ensure text is readable against the background.
-
Ignoring Accessibility: Use fonts, colors, and designs that are clear for all viewers, including those with visual impairments.
-
Not Saving as a Template File: If you save your design as a regular presentation (.pptx), it won’t be reusable.
Avoiding these mistakes ensures that your template remains professional and functional.
Conclusion

Creating your own custom templates in PowerPoint is an excellent way to ensure consistency, professionalism, and efficiency in your presentations. By mastering the Slide Master, customizing layouts, and saving your design as a reusable template, you can streamline your workflow and deliver visually appealing presentations every time.
Whether you’re representing a business, teaching a class, or presenting personal projects, a custom template reflects your unique style and strengthens your message. With practice, you’ll be able to build templates that save time and impress your audience.