


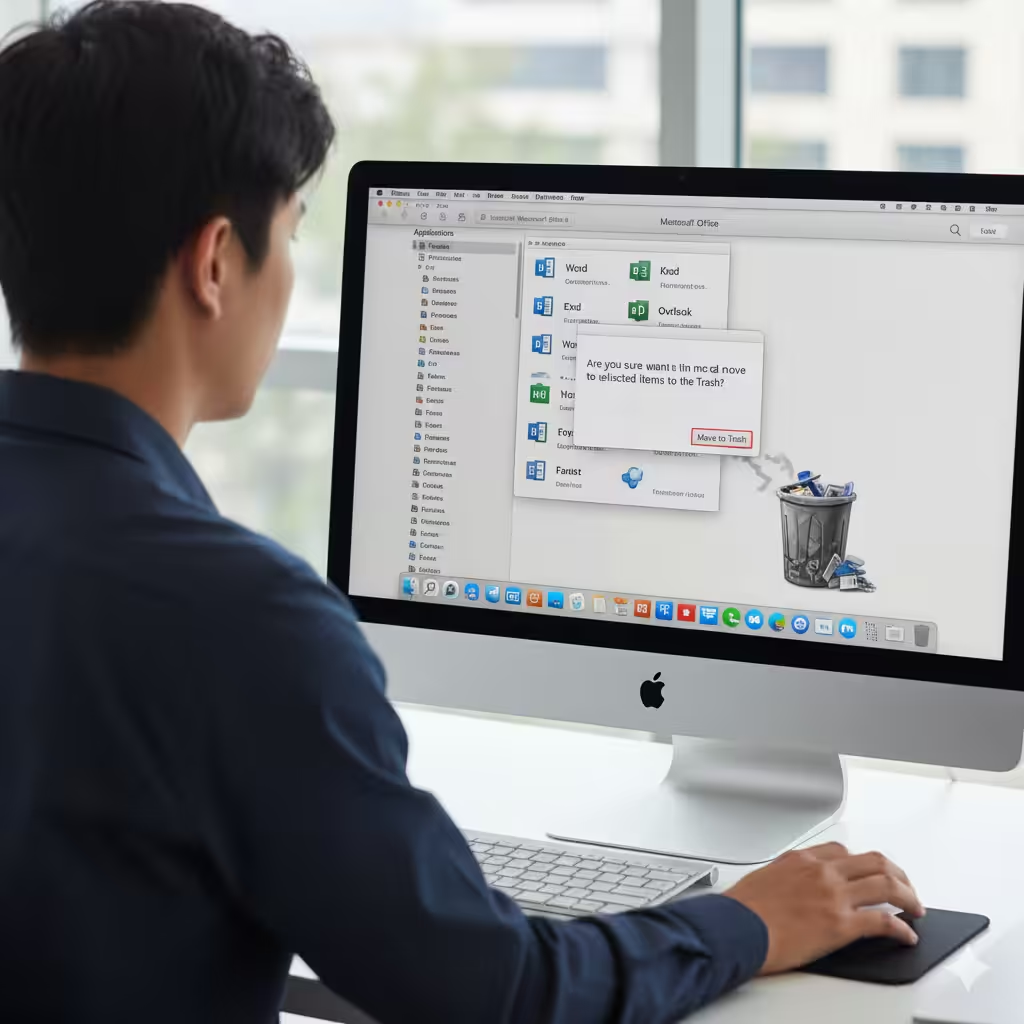
Guide to Uninstalling Office Applications on macOS

Microsoft Office is a powerful suite of applications, but there may come a time when you need to remove it from your Mac. Whether you are upgrading to a newer version, troubleshooting performance issues, or simply no longer need the software, knowing how to properly uninstall Office for Mac is important. Unlike some applications that can be dragged into the Trash, Office requires a more thorough process to ensure all related files are removed.
This guide will explain step by step how to quickly and completely uninstall Office for Mac, regardless of which version you are using.
Why You May Need to Uninstall Office for Mac
There are several reasons why you might want to remove Office from your Mac:
-
Upgrading to a newer version: Before installing Office 2021 or Microsoft 365, it is often recommended to uninstall the older version to avoid conflicts.
-
Freeing up storage space: Office applications can take up several gigabytes of disk space. Removing them can help optimize your system’s storage.
-
Troubleshooting issues: If Word, Excel, or Outlook is crashing frequently, a clean reinstall may fix the problem.
-
Switching to alternatives: Some users may prefer using Apple’s Pages, Numbers, and Keynote or other productivity software.
No matter your reason, following the correct steps will ensure that all components are deleted and your Mac remains clean.
Step 1: Quit All Office Applications

Before uninstalling, make sure no Office apps are running:
-
Open each Office application, such as Word, Excel, or PowerPoint.
-
Click on the Word (or the app’s name) menu in the top-left corner.
-
Select Quit Word (or Quit Excel, etc.).
-
You can also press Command + Q to close apps quickly.
To double-check, open the Activity Monitor in Applications > Utilities and search for any running Office processes. Quit them before proceeding.
Step 2: Remove Office Applications from the Applications Folder
-
Open the Finder.
-
Go to the Applications folder.
-
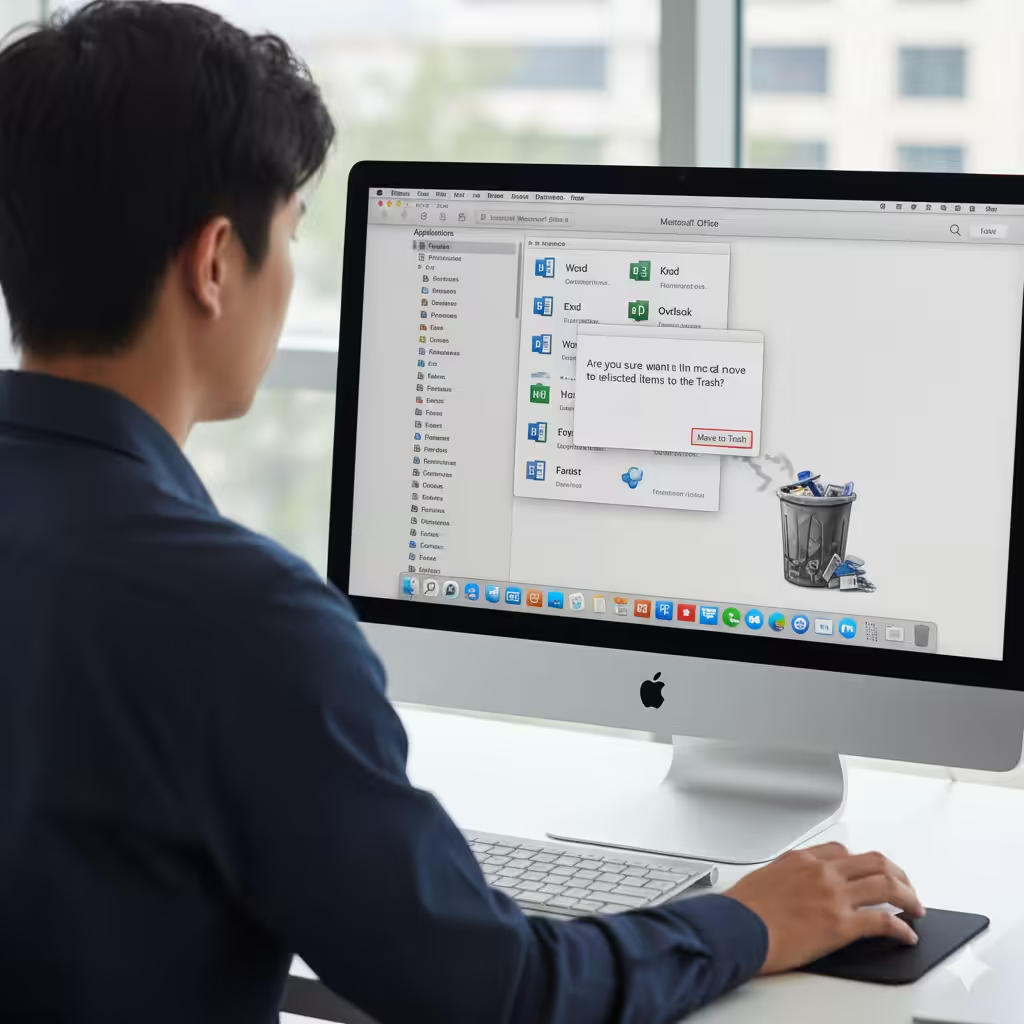
Look for Microsoft Office 2011, Microsoft Office 2016, or Microsoft Office 2019/2021, depending on your installed version.
-
Select all Office applications (Word, Excel, PowerPoint, Outlook, OneNote, and others).
-
Drag them to the Trash, or right-click and select Move to Trash.
This removes the main applications, but some leftover files remain on your system.
Step 3: Delete Office Support Files
Office creates additional support files, preferences, and caches. To fully uninstall, you must remove them manually:
-
In Finder, click Go from the top menu and select Go to Folder.
-
Type:
and press Enter.
-
Navigate to these folders and delete related Microsoft files:
-
Containers (delete files like com.microsoft.Word, com.microsoft.Excel, etc.)
-
Group Containers (look for UBF8T346G9, which contains Office data)
-
Preferences (remove com.microsoft files)
-
Application Support/Microsoft (delete leftover Office files)
-
Caches (search for Microsoft Office caches)
-
This step ensures all hidden files associated with Office are removed.
Step 4: Remove Outlook Data (Optional)
If you used Outlook and want to erase all data:
-
Go to ~/Library/Group Containers/UBF8T346G9/Outlook/.
-
Delete the Outlook folder.
This will remove all emails, contacts, and calendar data. If you plan to reinstall Outlook, you may want to back up your data first.
Step 5: Empty the Trash
After moving Office apps and related files to the Trash:
-
Right-click the Trash icon in the dock.
-
Select Empty Trash.
-
Restart your Mac to finalize the uninstallation process.
Step 6: Use Microsoft’s Official Removal Tool (Optional)
For some versions, Microsoft provides an official removal tool to simplify the process. This tool ensures that all Office-related files are erased without needing to manually delete them.
-
Visit the Microsoft Support website.
-
Search for the Uninstall Office for Mac tool.
-
Download and run the tool following the on-screen instructions.
This option is especially helpful if you encounter errors during manual removal.
Step 7: Verify That Office Is Completely Removed
To confirm that Office is uninstalled:
-
Open Finder and search for “Microsoft.”
-
Check if any Office apps or support files are still on your system.
-
If you find leftovers, delete them manually.
Once no Office files remain, the uninstall is complete.
Tips Before Reinstalling Office
If you are uninstalling Office in order to reinstall it, here are a few tips:
-
Back up your data: Save important Word documents, Excel spreadsheets, and Outlook emails before removing Office.
-
Remove old versions completely: Installing a new version without removing the old one can cause conflicts.
-
Restart your Mac after uninstalling: This clears any temporary system processes still linked to Office.
Common Issues During Uninstallation
While uninstalling, some users may encounter problems:
-
Files cannot be deleted: Ensure the app is fully closed by checking Activity Monitor.
-
Error messages when dragging to Trash: Restart your Mac in Safe Mode and try again.
-
Outlook data not removed: Double-check the Group Containers folder.
If you still face issues, using Microsoft’s removal tool is the safest option.
Conclusion
Uninstalling Office for Mac is not as simple as dragging the apps into the Trash. To completely remove it, you need to delete support files, caches, and preferences stored in your Library folders. By following the steps in this guide—quitting all Office apps, removing them from Applications, cleaning up leftover files, and optionally using Microsoft’s removal tool—you can quickly and effectively uninstall Office from your Mac.
Whether you are making room for a newer version, solving technical issues, or switching to another productivity suite, these steps will ensure your Mac is free of any leftover Microsoft Office files.