


How to Stop Windows 11 Update and Keep Using Windows 10
With the release of Windows 11, Microsoft introduced a refreshed design, new features, and improved performance. While many users were excited to upgrade, others have chosen to stick with Windows 10 due to compatibility issues, hardware limitations, or simple personal preference.
If you’re someone who prefers Windows 10 and want to cancel or block the Windows 11 update, you’re not alone. Fortunately, Microsoft gives users some control over the update process. This guide will walk you through the steps to cancel a pending Windows 11 upgrade and make sure your PC stays on Windows 10.
Why Stay on Windows 10?
Before we get into the steps, here are a few reasons why you might want to remain on Windows 10:
-
Compatibility: Some older software and hardware may not work properly with Windows 11.
-
Familiar Interface: Windows 10 offers a more traditional user interface, which many users prefer.
-
System Requirements: Windows 11 has stricter hardware requirements, including TPM 2.0 and Secure Boot.
-
Stability: Windows 10 is a mature operating system with well-established support for various apps and drivers.
Now, let’s explore how to cancel or block the upgrade to Windows 11.
Check If the Windows 11 Upgrade Is Pending
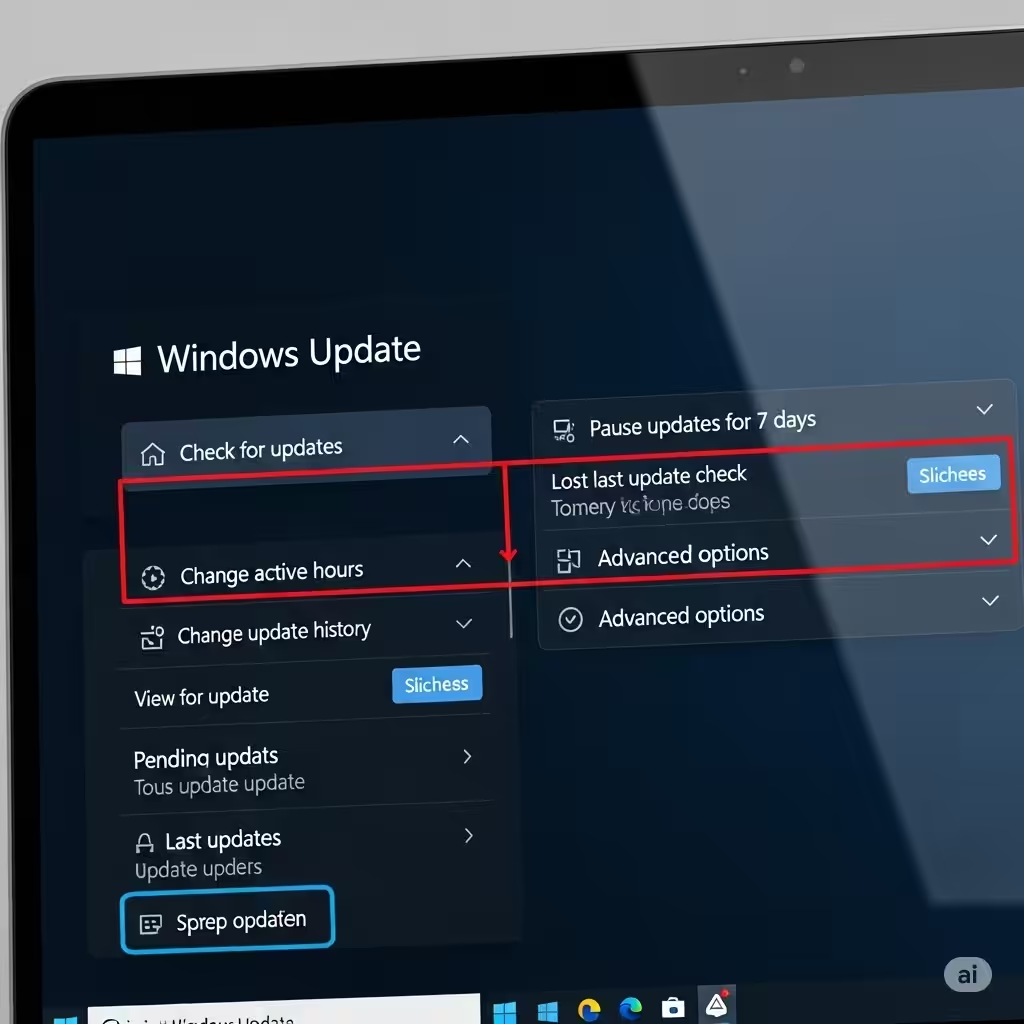
The first step is to confirm whether the Windows 11 update is already in progress or pending. Here’s how:
-
Open Settings
-
Go to Update & Security
-
Select Windows Update
-
Check for any pending upgrade to Windows 11
If you see a notification or download in progress for Windows 11, you can still cancel it by following the steps below.
Method 1: Cancel the Download via Windows Update Settings
If your system has already started downloading Windows 11 but hasn’t yet installed it, you can stop the process by:
-
Go to Settings > Update & Security > Windows Update
-
Click on Pause updates for 7 days
-
You can extend the pause period by clicking again up to 5 times (total 35 days)
This temporary solution gives you time to make a more permanent change, especially if you need time to back up your files or prepare.
Method 2: Use Group Policy Editor to Block Windows 11 Upgrade
If you’re using Windows 10 Pro, Education, or Enterprise editions, you can use the Group Policy Editor to prevent the system from upgrading to Windows 11.
-
Press Windows + R, type
gpedit.msc, and press Enter -
Navigate to:
Computer Configuration > Administrative Templates > Windows Components > Windows Update > Windows Update for Business -
Double-click on Select the target Feature Update version
-
Choose Enabled
-
In the Target Version for Feature Updates box, type
21H2or the latest version of Windows 10 you want -
Click Apply, then OK
This tells Windows to stay on Windows 10 and ignore newer versions like Windows 11.
Method 3: Use Registry Editor (for Home Edition)
If you’re on Windows 10 Home, you won’t have access to the Group Policy Editor, but you can achieve the same result using the Windows Registry.
Warning: Modifying the registry can be risky. Follow these steps carefully and back up the registry beforehand.
-
Press Windows + R, type
regedit, and press Enter -
Navigate to:
HKEY_LOCAL_MACHINE\SOFTWARE\Policies\Microsoft\Windows\WindowsUpdate -
If the
WindowsUpdatekey doesn’t exist, right-click and create it -
Inside
WindowsUpdate, create a new DWORD (32-bit) value namedTargetReleaseVersion -
Set the value to
1 -
Create another String Value named
TargetReleaseVersionInfo -
Set the value data to
21H2or your desired Windows 10 version -
Close Registry Editor and restart your PC
Method 4: Use Third-Party Tools (Optional)
There are third-party applications that help block feature upgrades like Windows 11:
-
StopUpdates10
-
Windows Update Blocker
-
O&O ShutUp10++
These tools offer graphical interfaces to disable updates, defer upgrades, and prevent Windows 11 installation without modifying system files manually. Use them cautiously and always download from trusted sources.
What If You’ve Already Upgraded to Windows 11?
If you accidentally upgraded to Windows 11 but want to go back to Windows 10, there’s still hope — but time is critical.
Roll Back Within 10 Days
Windows 11 gives you a 10-day rollback period to return to Windows 10 without losing files.
Steps:
-
Go to Settings > System > Recovery
-
Under Recovery options, look for Go back
-
Click Go back and follow the prompts
If more than 10 days have passed, the rollback option will no longer be available unless you made a full system backup prior to the upgrade.
Prevent Windows 11 Notifications from Appearing
To reduce distractions or accidental upgrades, you can also disable the Windows 11 upgrade notifications.
-
Open Task Scheduler
-
Navigate to:
Task Scheduler Library > Microsoft > Windows > UpdateOrchestrator -
Locate any task related to Windows Upgrade Notification
-
Right-click and choose Disable
Is Microsoft Forcing the Update?
As of 2025, Microsoft does not force the upgrade to Windows 11 on unsupported devices. However, it may continue to prompt eligible systems. With the steps above, you can retain full control over what version your device uses.
How Long Will Windows 10 Be Supported?
Microsoft has announced that Windows 10 will be supported until October 14, 2025. This gives users ample time to stay on Windows 10 while planning a future transition if necessary.
Final Thoughts
Windows 11 offers many new features and improvements, but not every user is ready or willing to make the switch. Whether you’re staying on Windows 10 for compatibility, familiarity, or stability, you have several reliable ways to block or cancel the Windows 11 upgrade.
By using built-in tools like Group Policy or the Registry Editor, or even third-party applications, you can ensure your PC remains on Windows 10 until you’re ready — or until support ends in 2025.