


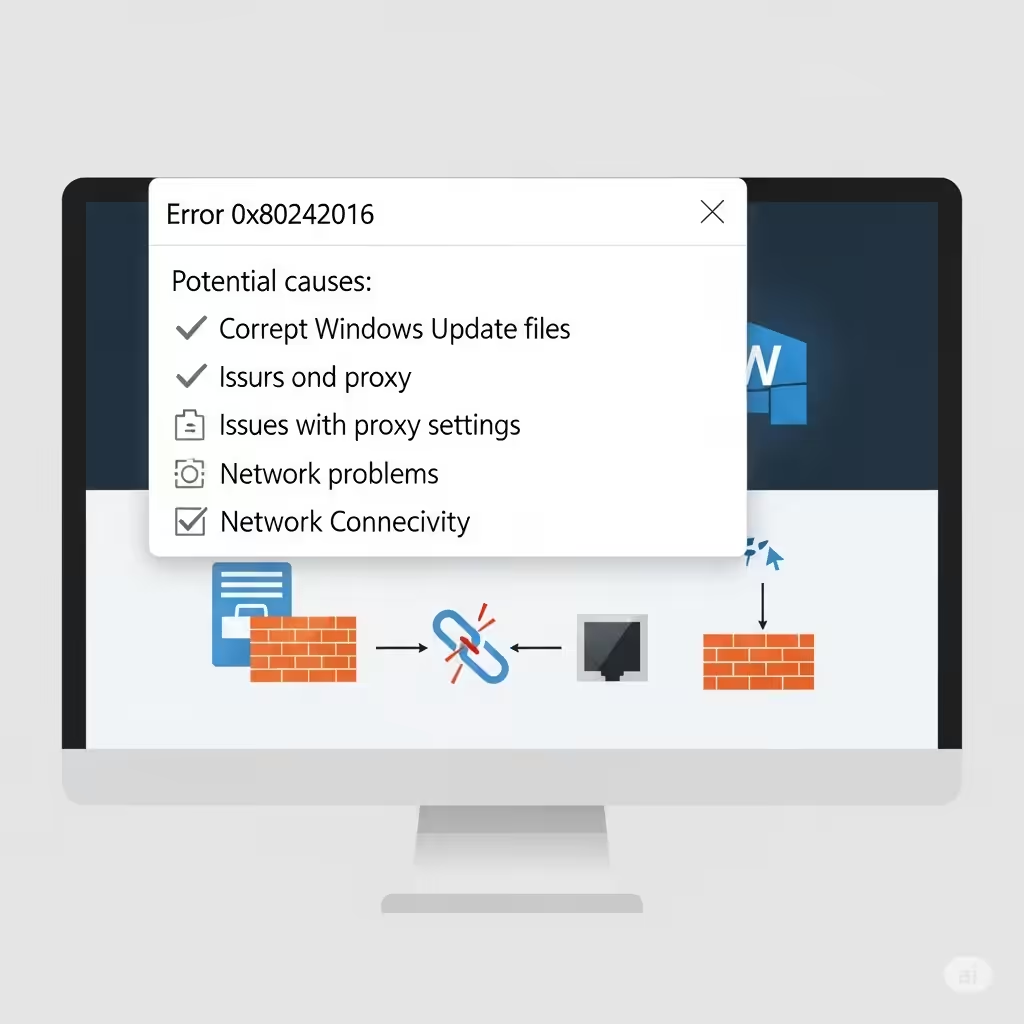
Fixing Windows Error 0x80242016: Installation Failed
Windows Update is essential for keeping your operating system secure and running smoothly. However, from time to time, users may encounter errors during the update process. One such error is 0x80242016, which usually appears when Windows is trying to install a cumulative or feature update but fails partway through.
This error often shows up in the Windows Update settings with a message like:
“There were some problems installing updates, but we’ll try again later. If you keep seeing this and want to search the web or contact support for information, this may help: 0x80242016.”
Although it’s a common issue, it can be frustrating—especially when your system keeps retrying the installation without success. Fortunately, there are several proven methods to fix this error and complete your update.
What Causes Error 0x80242016?
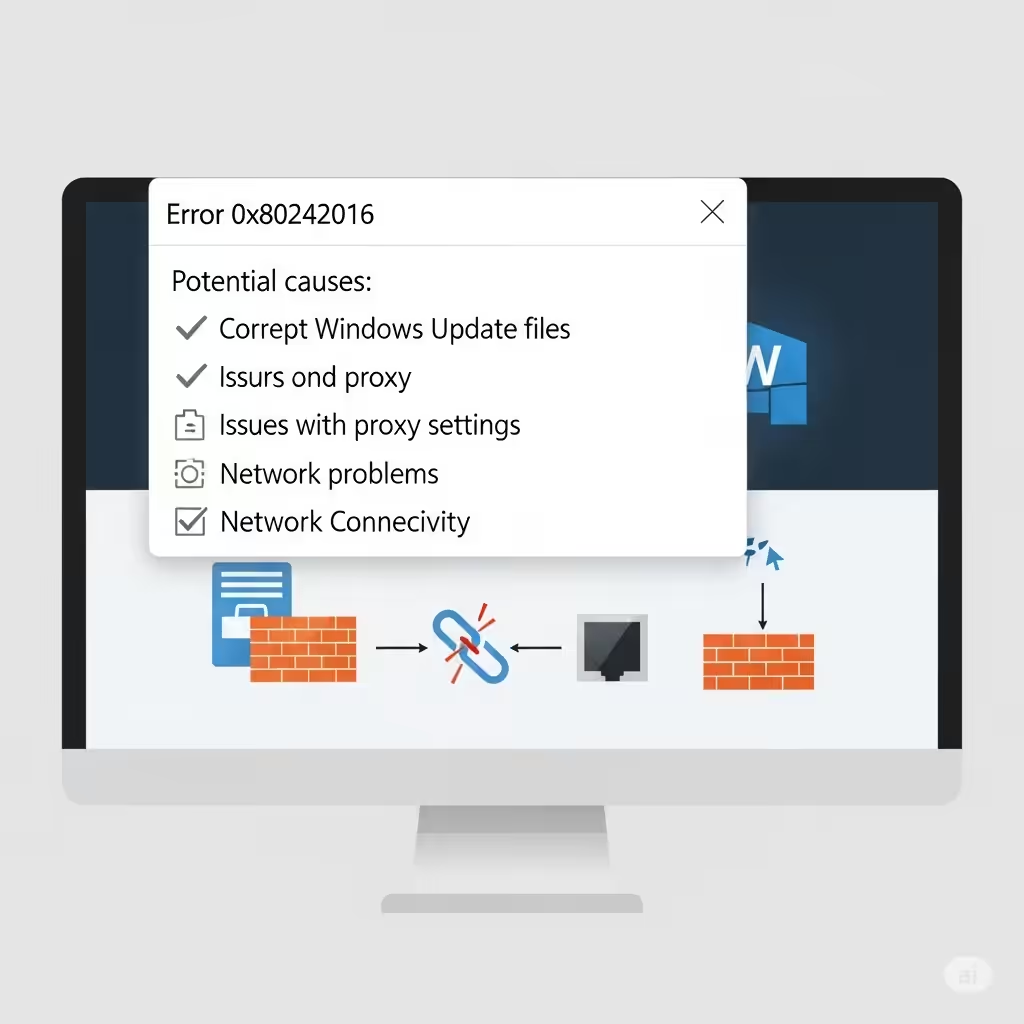
Before jumping into the fixes, it’s useful to understand what might be triggering the error:
-
Corrupted Windows Update components
-
Interference from third-party antivirus or firewall
-
Incomplete or failed previous updates
-
Damaged system files
-
Insufficient disk space or memory
-
Network interruptions
With this in mind, let’s explore step-by-step solutions to fix the 0x80242016 error on Windows 10 or Windows 11.
Fix 1: Run the Windows Update Troubleshooter
The Windows Update Troubleshooter is a built-in tool that can automatically detect and fix many update-related problems.
Steps:
-
Go to Settings > Update & Security > Troubleshoot
-
Click Additional troubleshooters
-
Select Windows Update and click Run the troubleshooter
-
Follow the on-screen instructions
-
After the scan completes, restart your computer and try the update again
If the troubleshooter finds and fixes issues, the update may proceed normally afterward.
Fix 2: Restart Windows Update Services
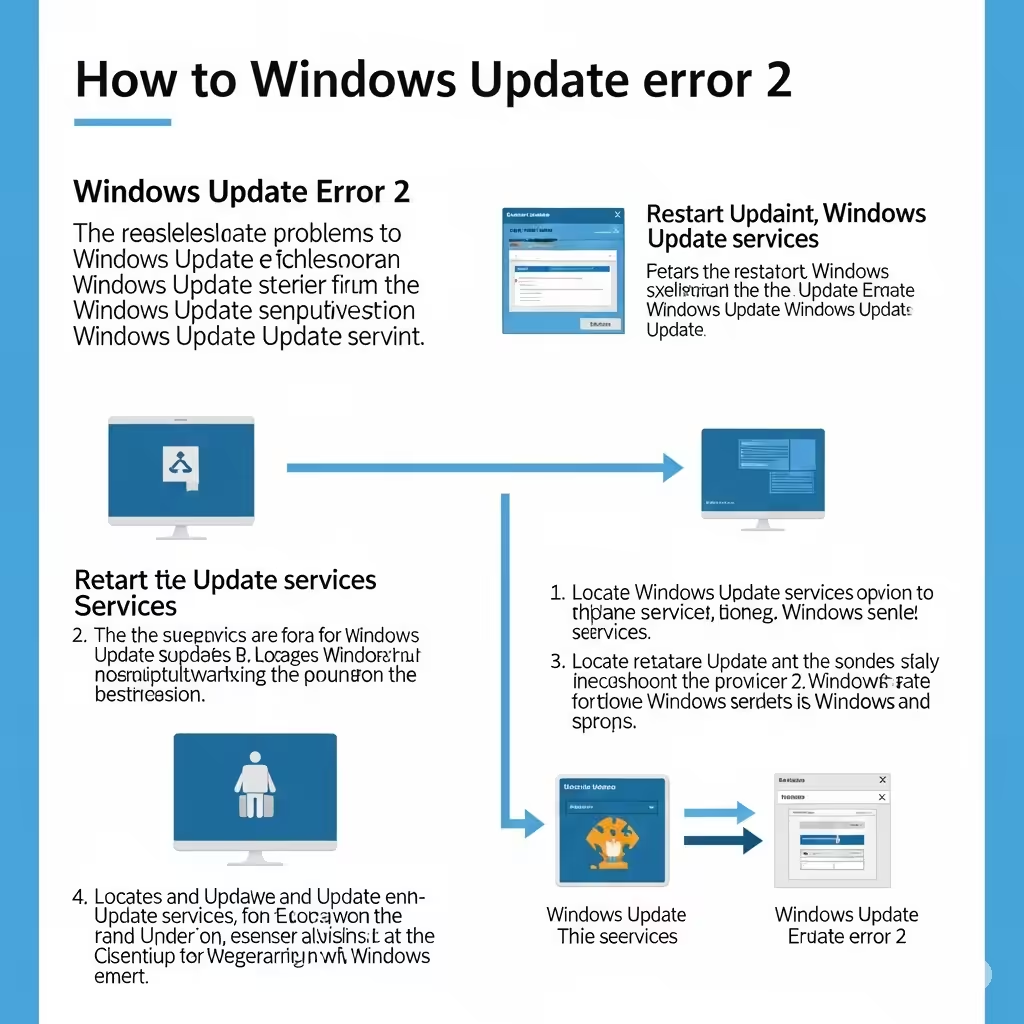
Restarting the core Windows Update services can clear up background issues that block the installation process.
How to restart services:
-
Press Windows + R, type
services.msc, and press Enter -
Find and right-click the following services, then click Restart for each:
-
Windows Update
-
Background Intelligent Transfer Service (BITS)
-
Cryptographic Services
-
Windows Installer
-
-
Close the window and retry the update
If any of these services are stuck or inactive, restarting them can resolve the update error.
Fix 3: Clear the SoftwareDistribution Folder
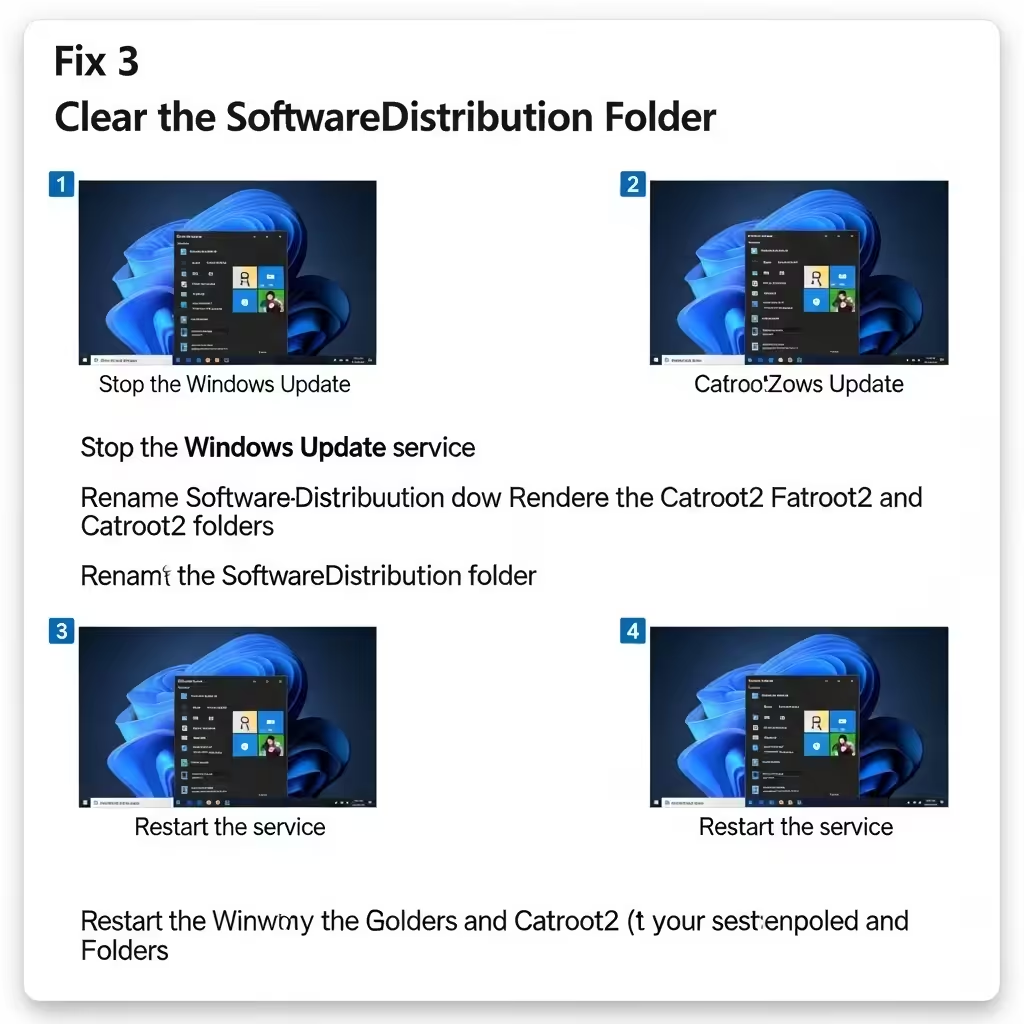
The SoftwareDistribution folder stores temporary update files. If any of these files become corrupted, it can trigger update failures.
Steps:
-
Press Windows + R, type
services.msc, and stop the Windows Update and BITS services -
Navigate to:
-
Delete all files and folders inside (but not the SoftwareDistribution folder itself)
-
Restart the services you stopped earlier
-
Try checking for updates again
This forces Windows to re-download update files from scratch.
Fix 4: Run the System File Checker and DISM Tools
Corrupted system files may interfere with the update process. Windows includes two command-line tools to repair these files: SFC and DISM.
To run System File Checker (SFC):
-
Open Command Prompt as Administrator
-
Type the following command and press Enter:
-
Wait for the scan to complete and follow any repair instructions
To run DISM:
If SFC didn’t fix everything, use DISM:
-
In the same Command Prompt window, type:
-
Press Enter and wait for the process to finish
-
Reboot your system and try the update again
Fix 5: Temporarily Disable Third-Party Antivirus
Some antivirus programs mistakenly interfere with system processes like updates. If you’re running a third-party antivirus or firewall, try disabling it temporarily.
Steps:
-
Right-click your antivirus icon in the system tray
-
Choose Disable protection (select a time limit such as 10–30 minutes)
-
Try running Windows Update again
-
Re-enable the antivirus after completing the update
Make sure you only disable antivirus temporarily and keep your system disconnected from suspicious sites during the process.
Fix 6: Use the Windows Update Assistant
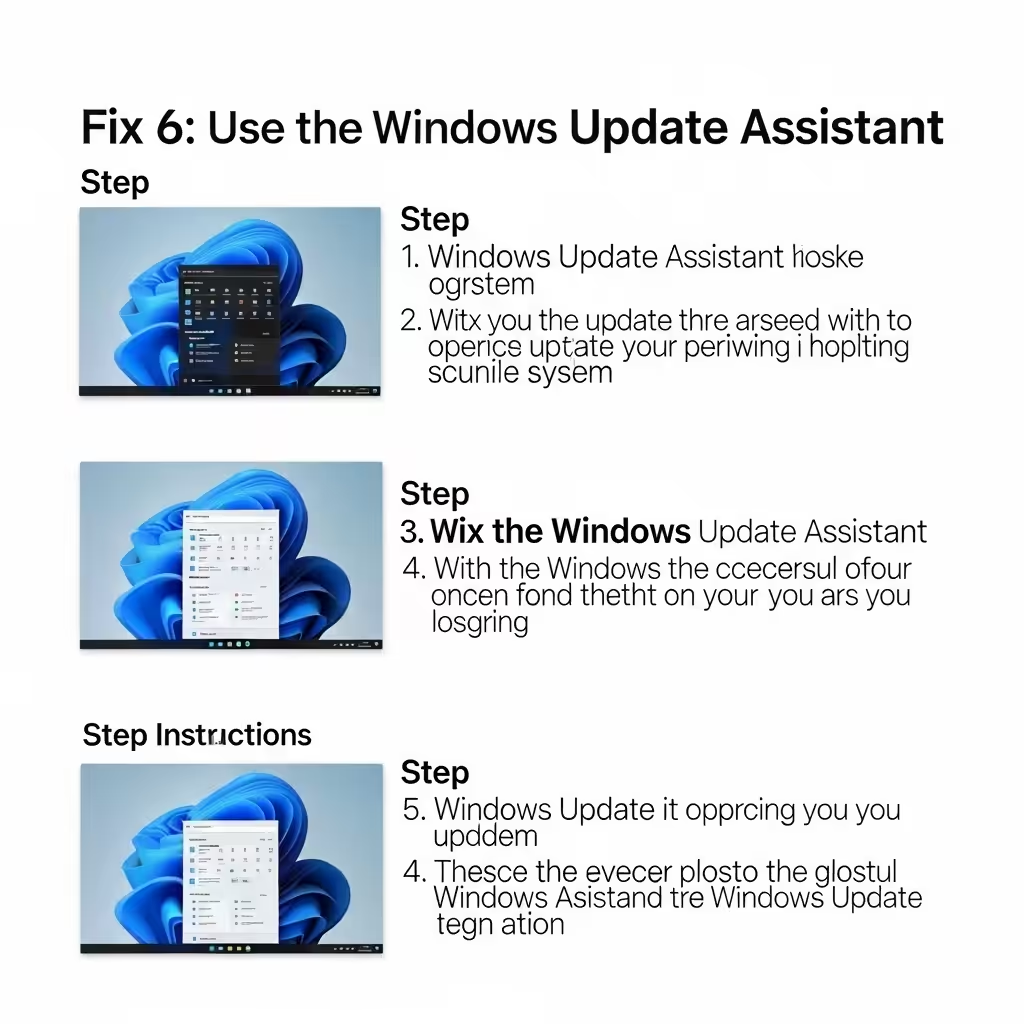
If the normal Windows Update process fails, you can use the Windows Update Assistant tool to install the latest version manually.
How to use it:
-
Visit the official Microsoft Windows 10/11 download page
-
Click Update now to download the Update Assistant
-
Launch the tool and follow the on-screen steps
This method bypasses many background services that could be causing the 0x80242016 error.
Fix 7: Free Up Disk Space
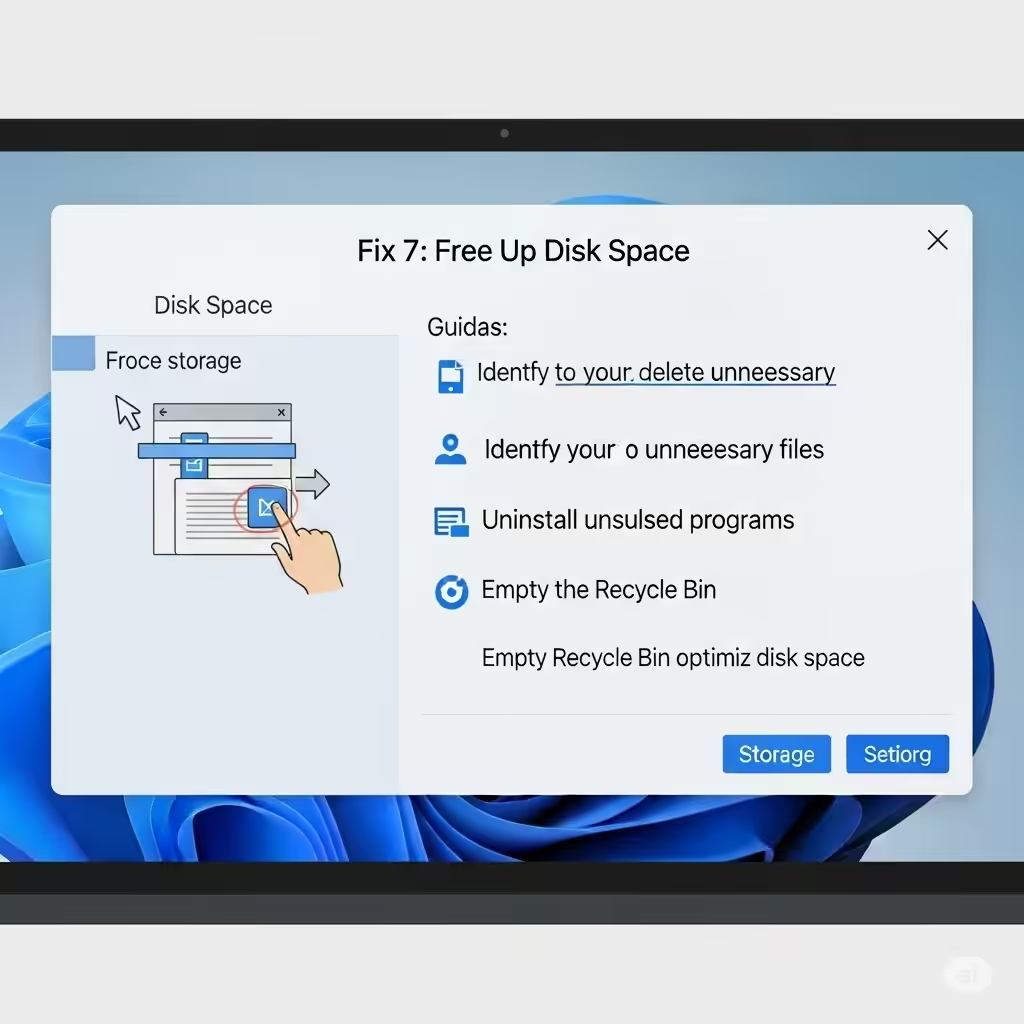
Insufficient disk space can prevent updates from installing correctly. Make sure your system has at least 20 GB of free space.
Tips to free up space:
-
Empty the Recycle Bin
-
Run Disk Cleanup (type it into the Start menu)
-
Uninstall unused programs
-
Move large files to external drives or cloud storage
After freeing up space, restart your computer and try the update again.
Fix 8: Install Updates in Safe Mode (with Networking)
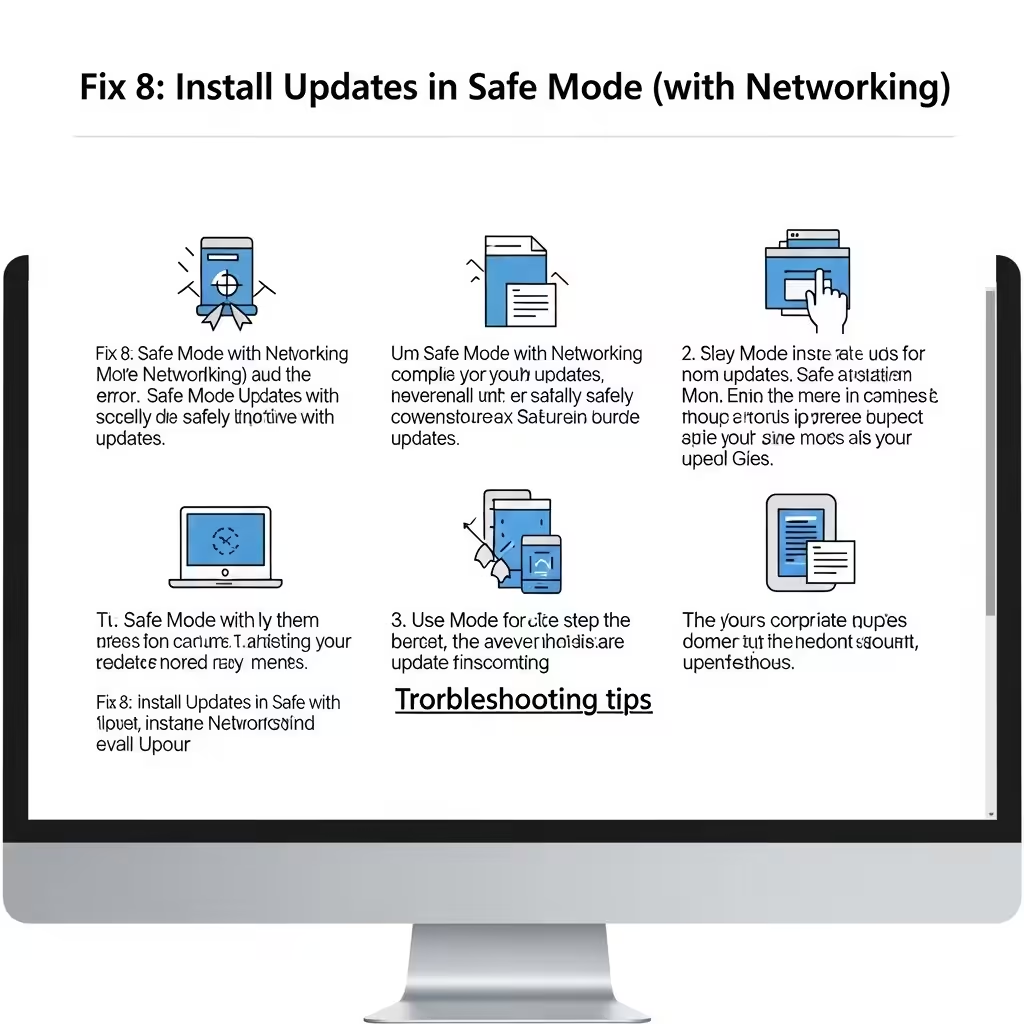
Running Windows in Safe Mode with Networking can prevent background apps from interfering with the update process.
Steps:
-
Press Windows + R, type
msconfig, and press Enter -
Go to the Boot tab and check Safe boot and Network
-
Click Apply and OK, then restart your PC
-
Run Windows Update in Safe Mode
-
After updating, return to
msconfigand disable Safe Boot
This environment can often help stubborn updates install successfully.
Fix 9: Perform a Repair Install Using an ISO
As a last resort, you can perform a repair install of Windows using an installation ISO. This reinstalls Windows but keeps your files and apps.
Steps:
-
Download the Media Creation Tool from Microsoft
-
Use it to create an installation ISO
-
Run the setup file and choose Upgrade this PC now
-
Select Keep personal files and apps when prompted
-
Follow the installation process
Afterward, Windows will be reinstalled with fresh system components, and your update issues should be resolved.
Conclusion
The 0x80242016 – Failed to Install error can be frustrating, but it’s often caused by temporary glitches, corrupted update files, or minor system misconfigurations. With the right steps, you can get your system updated and back to normal.
Summary of Fixes:
-
Run the built-in Windows Update troubleshooter
-
Restart key Windows services
-
Clear SoftwareDistribution contents
-
Use SFC and DISM to fix system files
-
Disable third-party antivirus temporarily
-
Use the Windows Update Assistant
-
Free up disk space
-
Install updates in Safe Mode
-
Perform a repair install if all else fails
By following this guide, you should be able to fix the 0x80242016 error and complete your Windows updates without further interruption.