


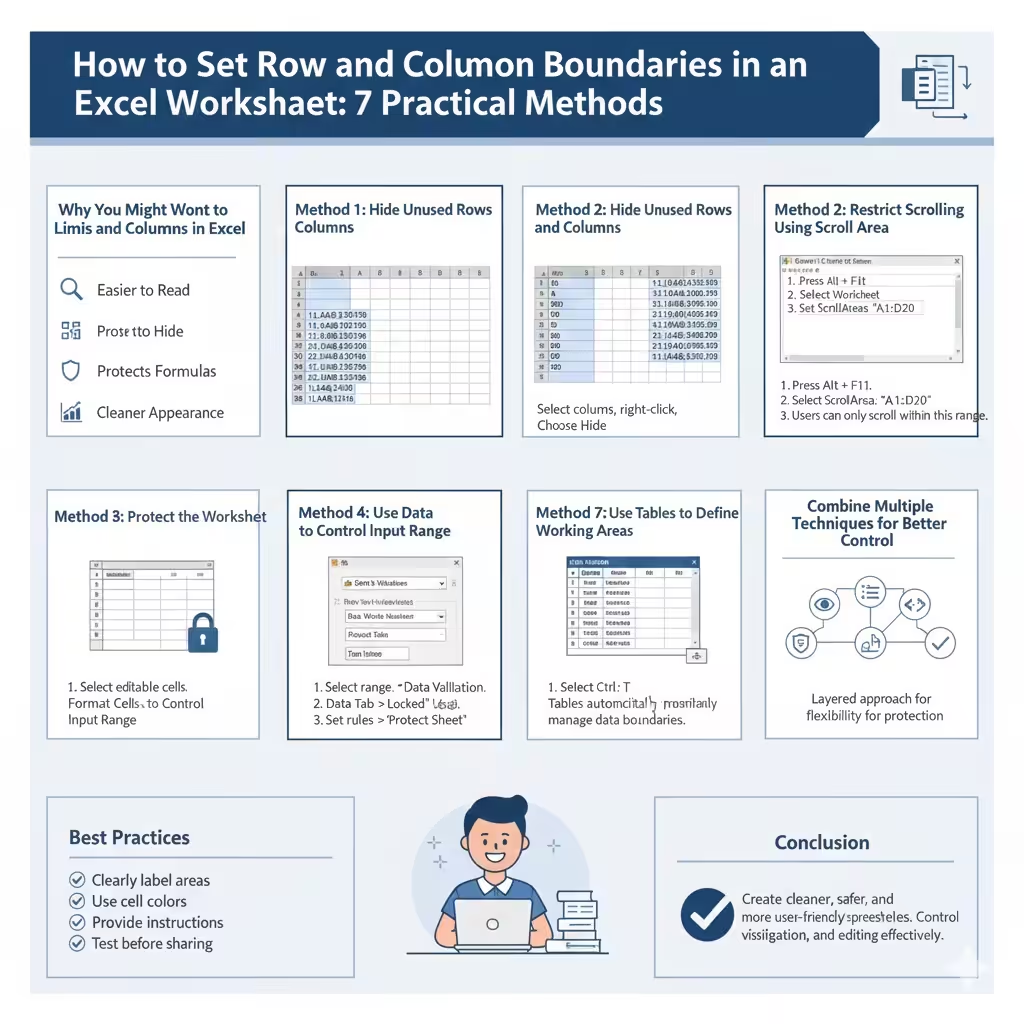
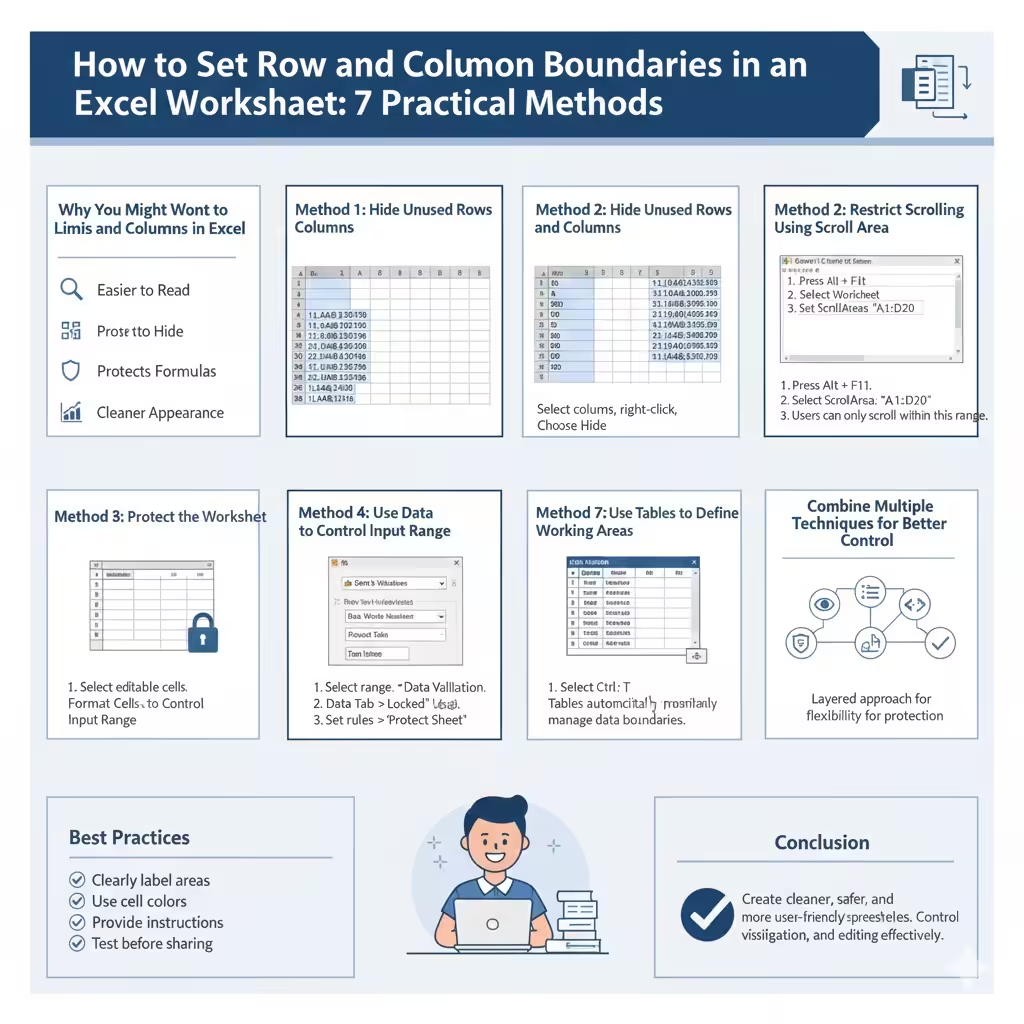
How to Set Row and Column Boundaries in an Excel Worksheet
Microsoft Excel worksheets contain a very large grid by default, with over one million rows and more than sixteen thousand columns. While this flexibility is powerful, it can also be distracting or confusing, especially when you want users to work within a specific area only. Limiting rows and columns helps improve clarity, prevents data entry errors, and protects the structure of your worksheet.
This article explains how to limit rows and columns in an Excel worksheet, covering multiple practical methods such as hiding unused areas, restricting scrolling, protecting sheets, and using data validation. Each approach serves a different purpose, allowing you to choose what works best for your situation.
Why You Might Want to Limit Rows and Columns in Excel
Limiting rows and columns is useful in many scenarios, including budgeting, data entry forms, dashboards, and shared workbooks.
Common reasons include:
-
Preventing users from entering data outside a defined area
-
Making spreadsheets easier to read and navigate
-
Improving performance in large workbooks
-
Protecting formulas and layouts
-
Creating a cleaner, more professional appearance
By controlling the visible and editable area, you make Excel worksheets more user-friendly and reliable.
Understanding Excel’s Default Worksheet Size
Before limiting anything, it is important to understand Excel’s default structure.
A standard Excel worksheet includes:
-
1,048,576 rows
-
16,384 columns (ending at column XFD)
Excel does not allow you to permanently delete rows or columns beyond your data range. Instead, you control visibility, access, or user interaction using different techniques.
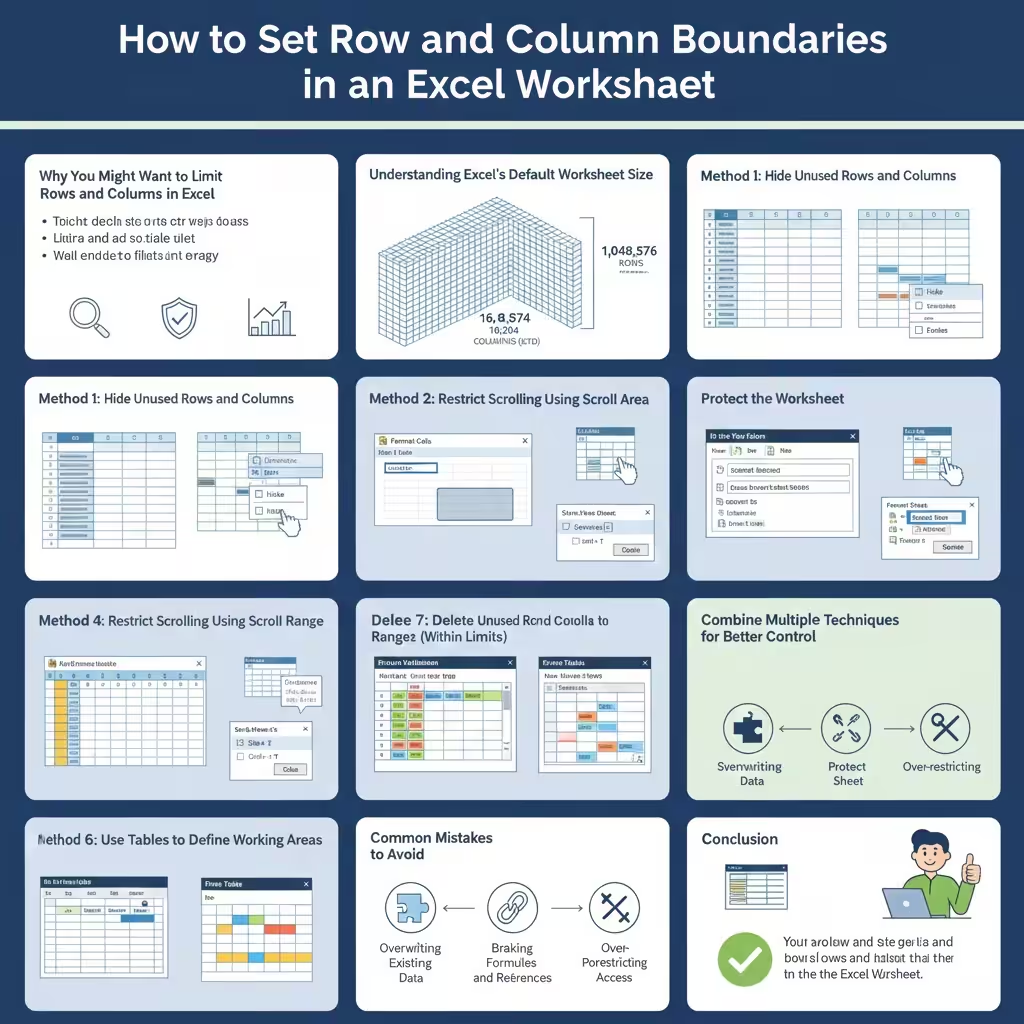
Method 1: Hide Unused Rows and Columns
Hiding rows and columns is the simplest and most commonly used method.
How to Hide Rows
-
Select the row immediately below your last data row
-
Press Ctrl + Shift + Down Arrow to select all remaining rows
-
Right-click the selected rows
-
Choose Hide
How to Hide Columns
-
Select the column immediately to the right of your last data column
-
Press Ctrl + Shift + Right Arrow
-
Right-click the selected columns
-
Click Hide
This method visually limits the worksheet and keeps users focused on the relevant area.
Limitations of Hiding
Hidden rows and columns can be unhidden easily, so this method works best for visual organization rather than strict control.
Method 2: Restrict Scrolling Using Scroll Area
Excel allows you to define a scrollable area so users cannot move beyond a specific range.
Setting a Scroll Area
-
Press Alt + F11 to open the VBA Editor
-
In the Project Explorer, select the worksheet
-
In the Properties window, find ScrollArea
-
Enter a range, such as
A1:D20 -
Press Enter
Once set, users can only scroll within that range.
Benefits of Scroll Area
-
Prevents accidental scrolling into unused space
-
Keeps the worksheet visually compact
-
Ideal for forms and dashboards
Note that the scroll area resets when the workbook is closed unless applied again.
Method 3: Protect the Worksheet
Protecting the worksheet prevents users from editing outside specific cells.
How to Protect a Sheet
-
Select the cells you want users to edit
-
Right-click and choose Format Cells
-
Go to the Protection tab
-
Uncheck Locked
-
Click OK
-
Go to the Review tab
-
Click Protect Sheet
Once protected, users can only modify unlocked cells.
Why Sheet Protection Helps
While it does not physically limit rows and columns, it prevents users from:
-
Editing restricted cells
-
Deleting rows or columns
-
Changing formulas or structure
This method is ideal for shared workbooks.
Method 4: Use Data Validation to Control Input Range
Data validation restricts where and how data can be entered.
Applying Data Validation
-
Select the allowed input range
-
Go to the Data tab
-
Click Data Validation
-
Configure rules such as:
-
Whole numbers only
-
Text length limits
-
Custom formulas
-
Advantages of Data Validation
-
Prevents incorrect data entry
-
Keeps data confined to a specific area
-
Improves data accuracy
While this does not hide rows or columns, it limits functional use.
Method 5: Delete Unused Rows and Columns (Within Limits)
You can delete rows and columns within your data range to reduce file size and clutter.
How to Delete Rows or Columns
-
Select unused rows or columns near your data
-
Right-click
-
Choose Delete
This helps clean up formatting issues and improves workbook performance, but Excel will still maintain its default maximum size beyond the deleted area.
Method 6: Use Tables to Define Working Areas
Excel Tables naturally limit where data is entered.
Creating a Table
-
Select your data range
-
Press Ctrl + T
-
Confirm the table range
Tables automatically expand when needed but keep data structured and contained.
Why Tables Are Useful
-
Clear data boundaries
-
Automatic formatting
-
Easier sorting and filtering
-
Reduced risk of accidental edits outside the data area
Tables are excellent for controlled data entry environments.
Method 7: Combine Multiple Techniques for Better Control
The most effective approach is often a combination of methods.
For example:
-
Hide unused rows and columns for visual clarity
-
Set a scroll area to restrict navigation
-
Protect the worksheet to prevent structural changes
-
Use data validation to control input
This layered approach offers both flexibility and protection.
Common Mistakes to Avoid
When limiting rows and columns, avoid these mistakes:
-
Relying on hiding alone for security
-
Forgetting to protect the worksheet
-
Not documenting protected areas for users
-
Over-restricting access and reducing usability
Balance control with user convenience.
When Limiting Rows and Columns Is Not Necessary
Not every worksheet needs strict limits. Free-form analysis, exploration, and temporary calculations may benefit from Excel’s full grid.
Limiting is most useful for:
-
Templates
-
Forms
-
Reports
-
Shared or public files
Understanding your use case helps you choose the right method.
Tips for Maintaining Limited Worksheets
To keep your worksheet effective:
-
Clearly label editable areas
-
Use cell colors or borders for guidance
-
Provide instructions for users
-
Test usability before sharing
These small steps greatly improve user experience.
Conclusion
Limiting rows and columns in an Excel worksheet helps create cleaner, safer, and more user-friendly spreadsheets. While Excel does not allow permanent removal of unused grid areas, it offers many effective tools to control visibility, navigation, and editing.